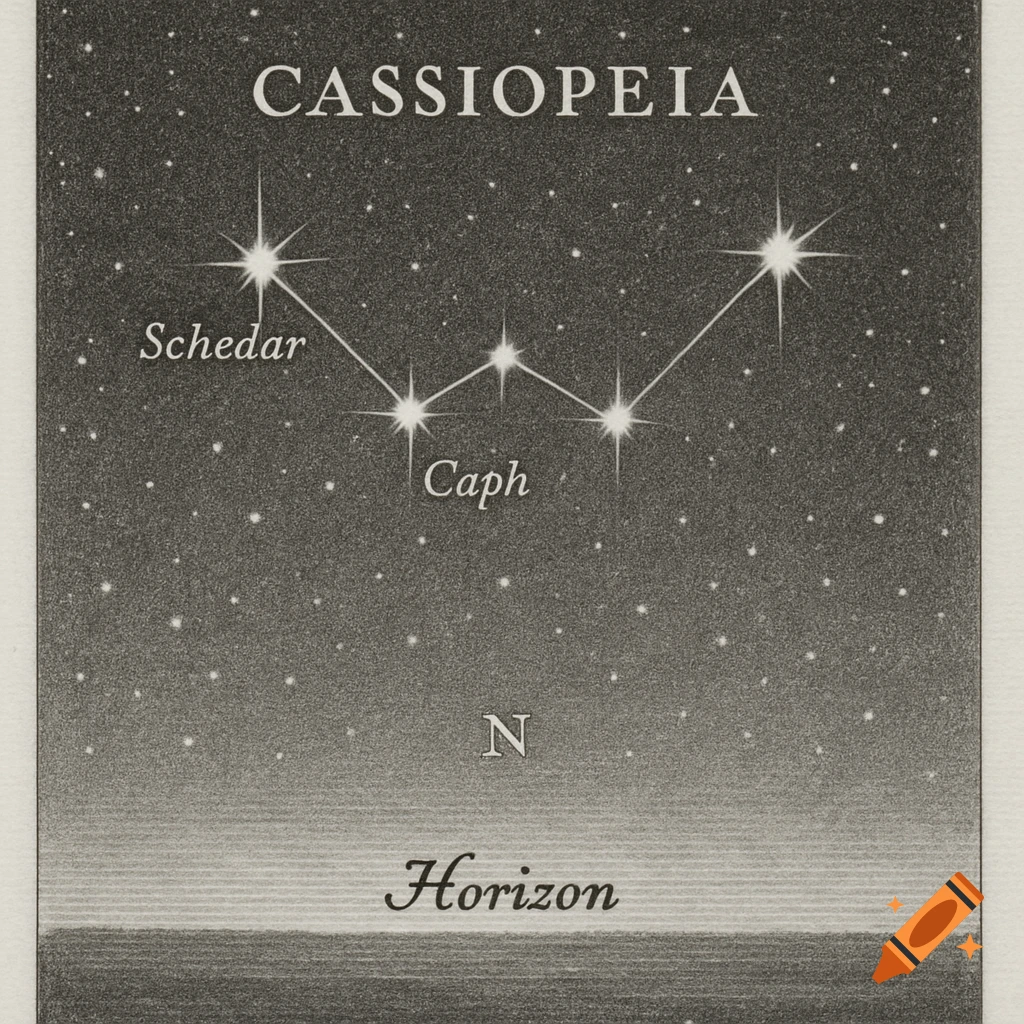
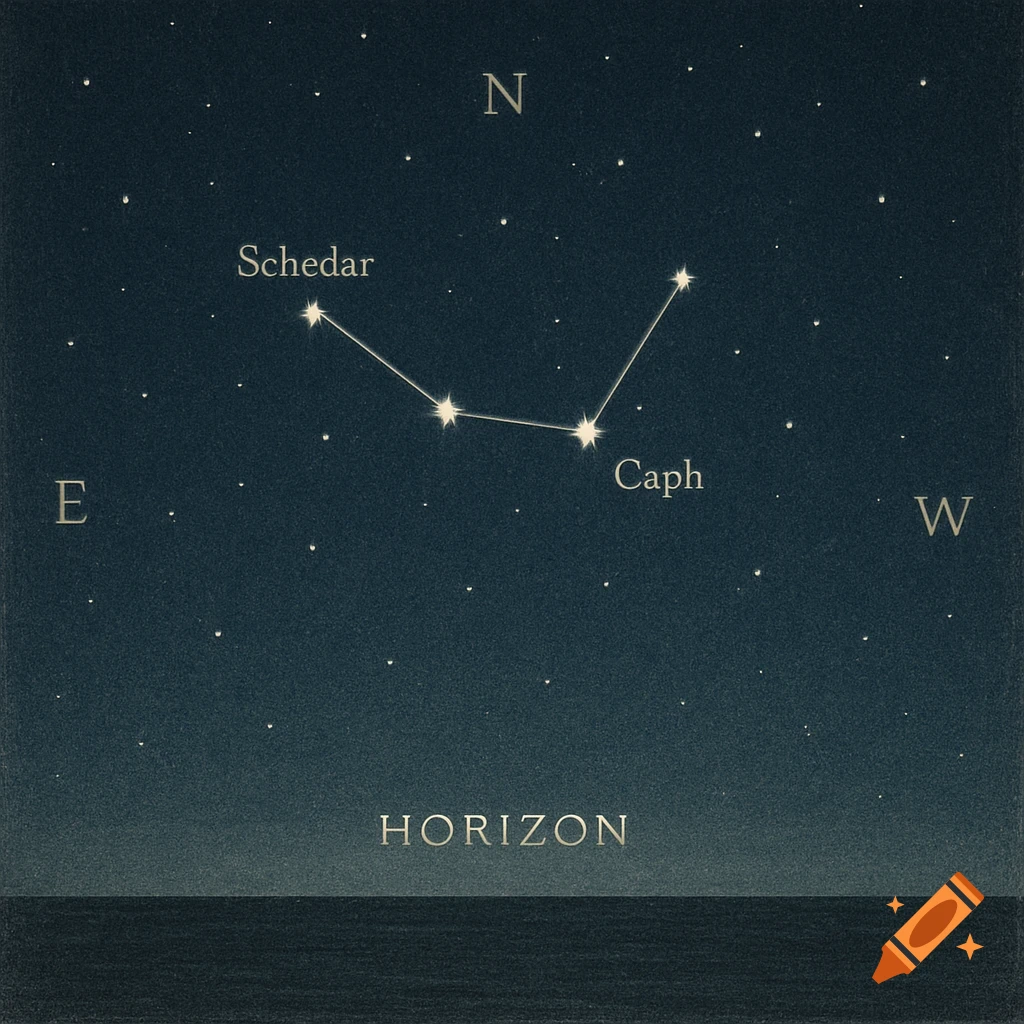
A hand-drawn diagram showing Polaris, Big Dipper, and Cassiopeia constellations with horizon, compass directions, and altitude labeled.
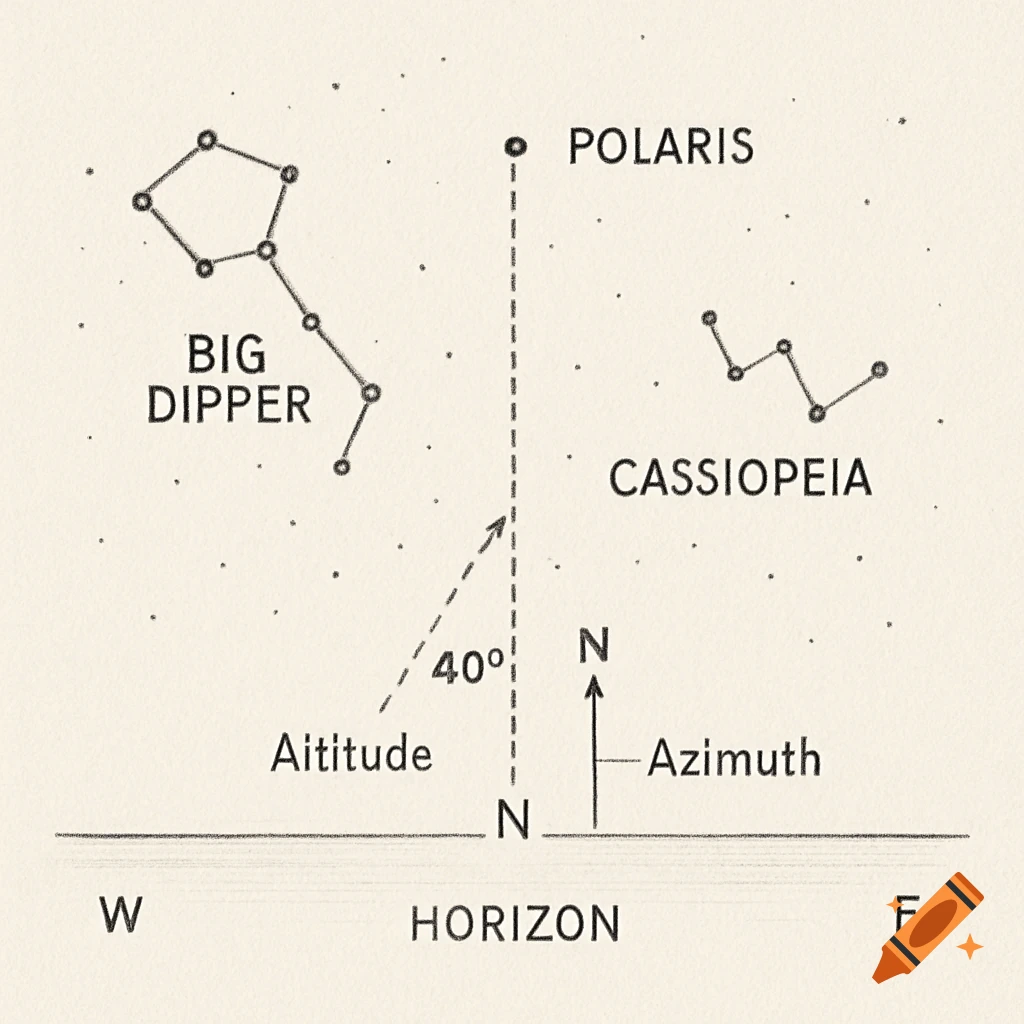
Step-by-Step Guide to Sketching Polaris Draw the Horizon Line Draw a horizontal line across the bottom of your page. This represents the ground. Add Compass Directions Mark N (North) directly above the horizon line where Polaris will appear. Mark E, S, W around the horizon line so your sketch has proper orientation. Plot Polaris Polaris is nearly fixed in the sky at true north. Draw a dot above the “N” mark on your compass. Estimate the altitude (angle above the horizon) — in Maryland it’s roughly 40°. You can lightly draw an angle from the horizon line to the dot to indicate altitude. Add the Big Dipper Pointer Stars Draw the “bowl” of the Big Dipper to the lower-left of Polaris in the northern sky. Draw the two stars at the end of the bowl (the pointer stars). Draw an imaginary line from the pointer stars outward (about 5 times the distance between them) leading to Polaris. This shows how you located it. Include Other Notable Stars (Optional) You can add Cassiopeia opposite Polaris as a “W” shaped constellation. Label Everything Label Polaris, the Big Dipper, and any other constellations you include. Add altitude (~40°) and azimuth (~0°) for Polaris. Keep it to Scale Don’t worry about perfect angles; just make relative distances and angles approximate. See more