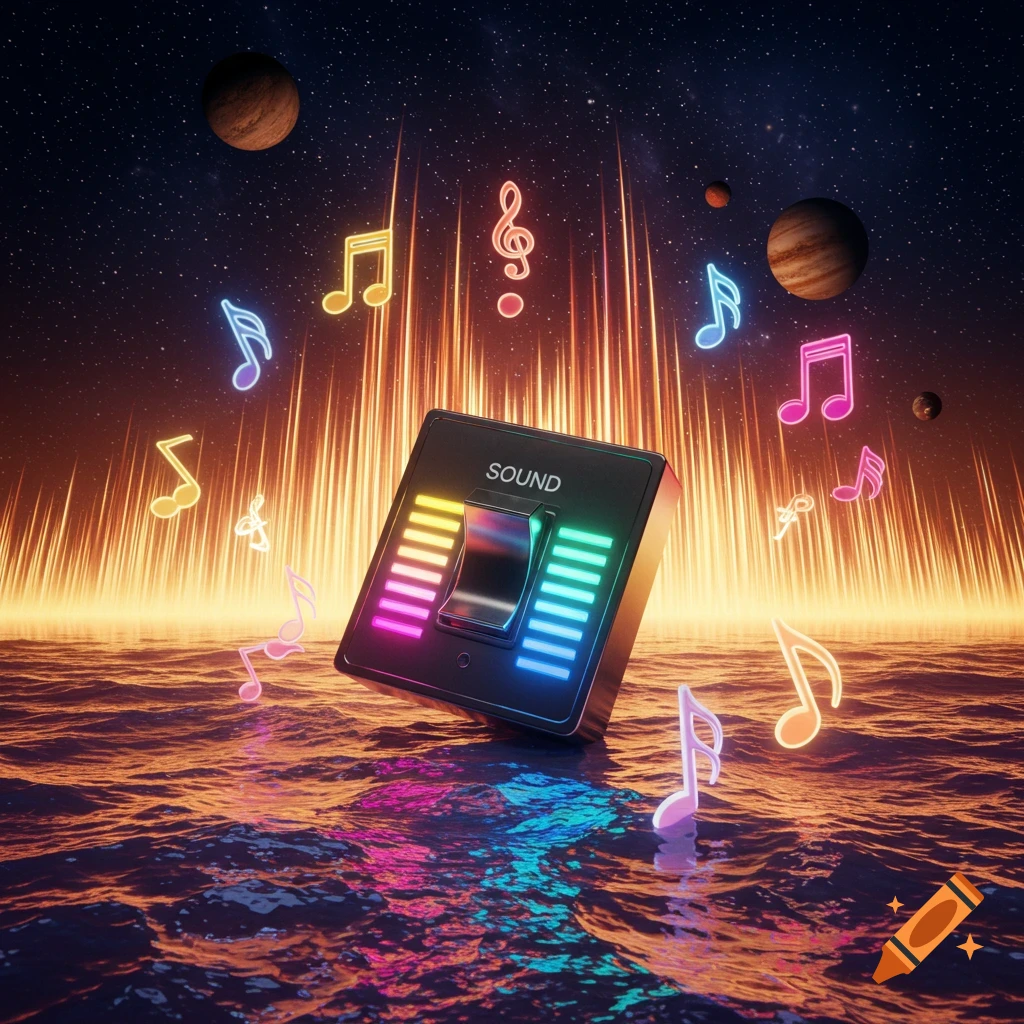
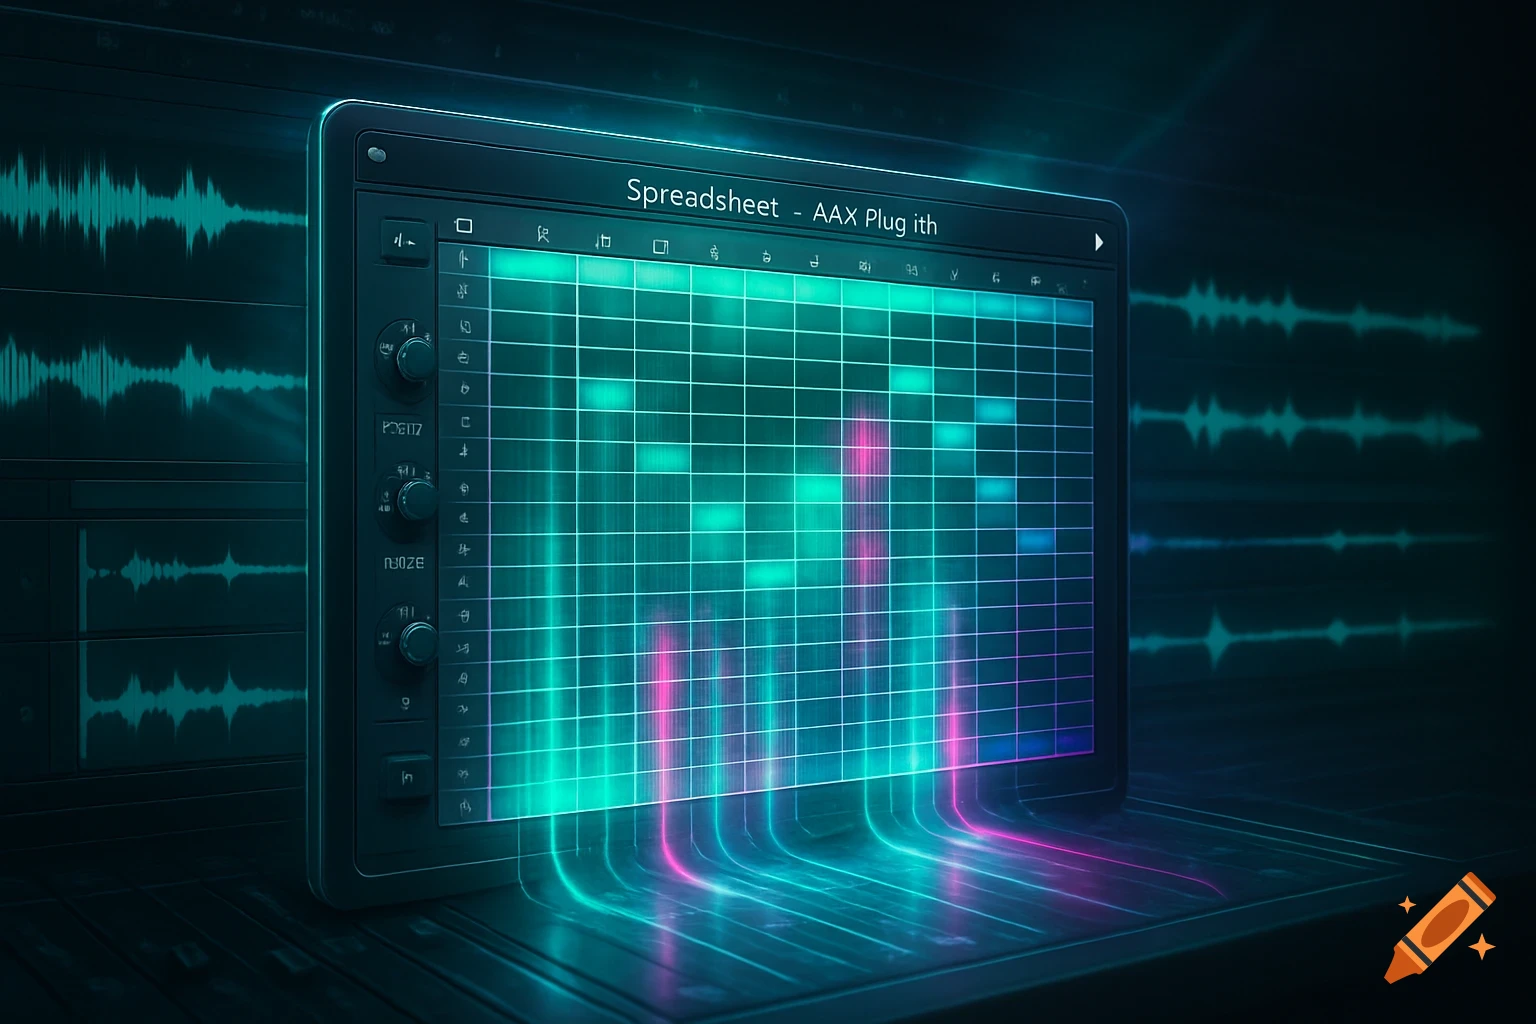
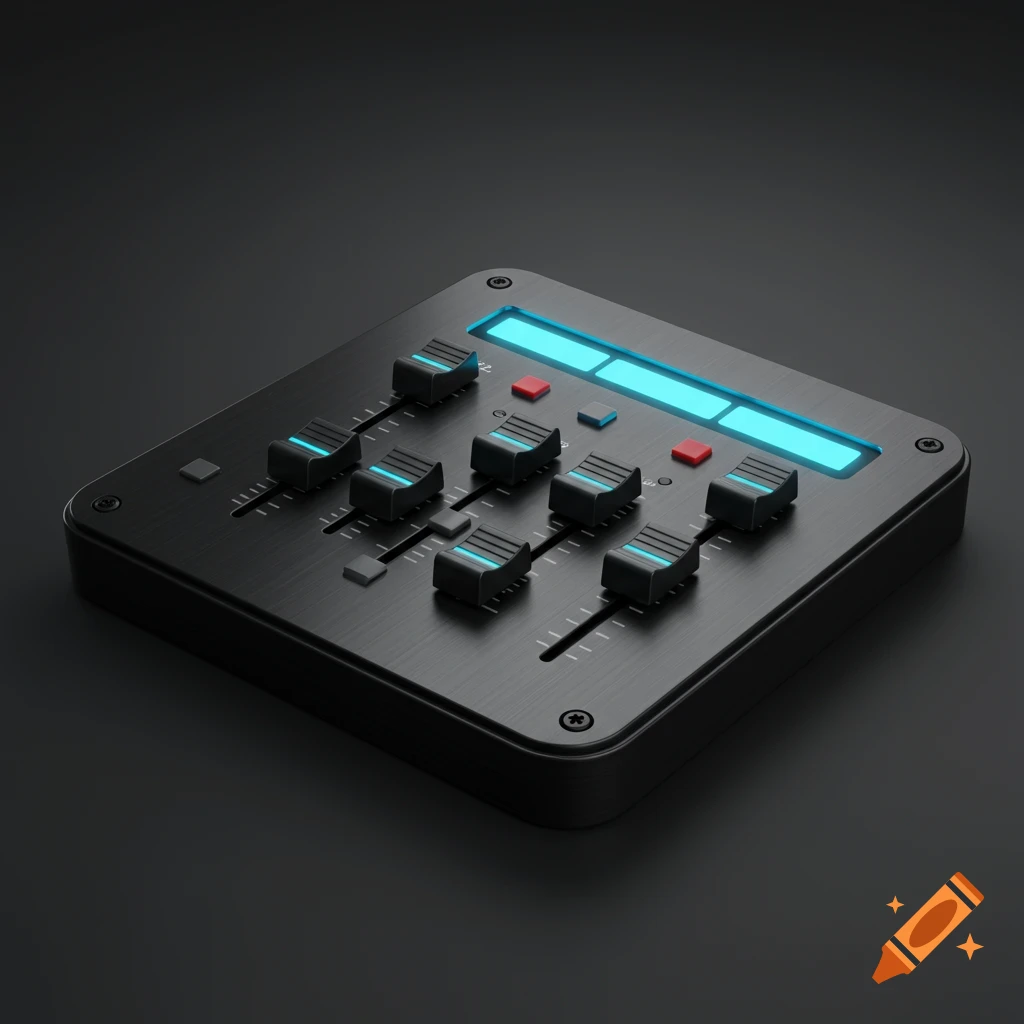
A dark-themed digital music equalizer interface with an album art of a sunset over mountains, showing sliders, frequency labels, and preset buttons.
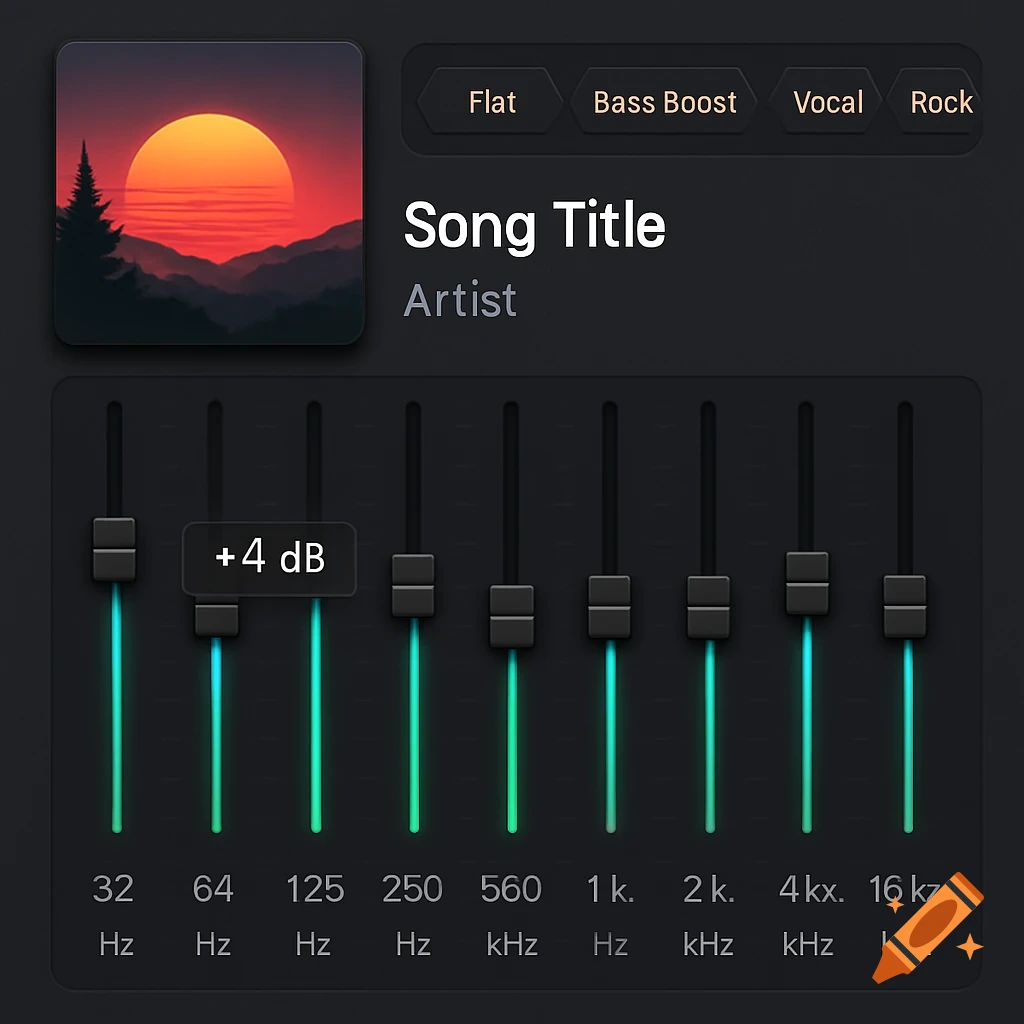
Top-Left Corner: In the upper-left, picture a clean, slightly recessed square area. This is where your album art resides. It's not huge, but large enough to clearly identify the music. Directly below it, in crisp, white text, is the track title, and beneath that, the artist's name in a slightly lighter gray. All of this feels contained, not distracting from the main action. The Central Stage: Your Equalizer Now, shift your gaze to the vast upper-middle section of the screen. Here, the 10-band graphic equalizer dominates. Envision ten perfectly aligned, sleek vertical sliders. Each slider has a small, square "handle" at its tip, perhaps with a subtle metallic glint. The slider tracks themselves are narrow channels that glow with a soft, internal electric blue or neon green light when you touch and drag them, indicating the exact frequency being adjusted. As you move a slider, a small, white numerical value (like "+4 dB" or "-2 dB") briefly hovers above it, then fades away. Below each slider, the precise frequency label (e.g., "32 Hz, "1 kHz", "16 kHz") is clearly printed in a light gray, ensuring you know exactly what part of the audio spectrum you're manipulating. Just above these sliders, spanning the width of the equalizer, are your preset buttons. Think small, diamond buttons with rounded corners. They might be a slightly lighter shade of charcoal, turning a vibrant yellow or bright orange when selected. The text labels for "Flat", "Bass Boost", "Vocal", "Rock", "Pop", See more