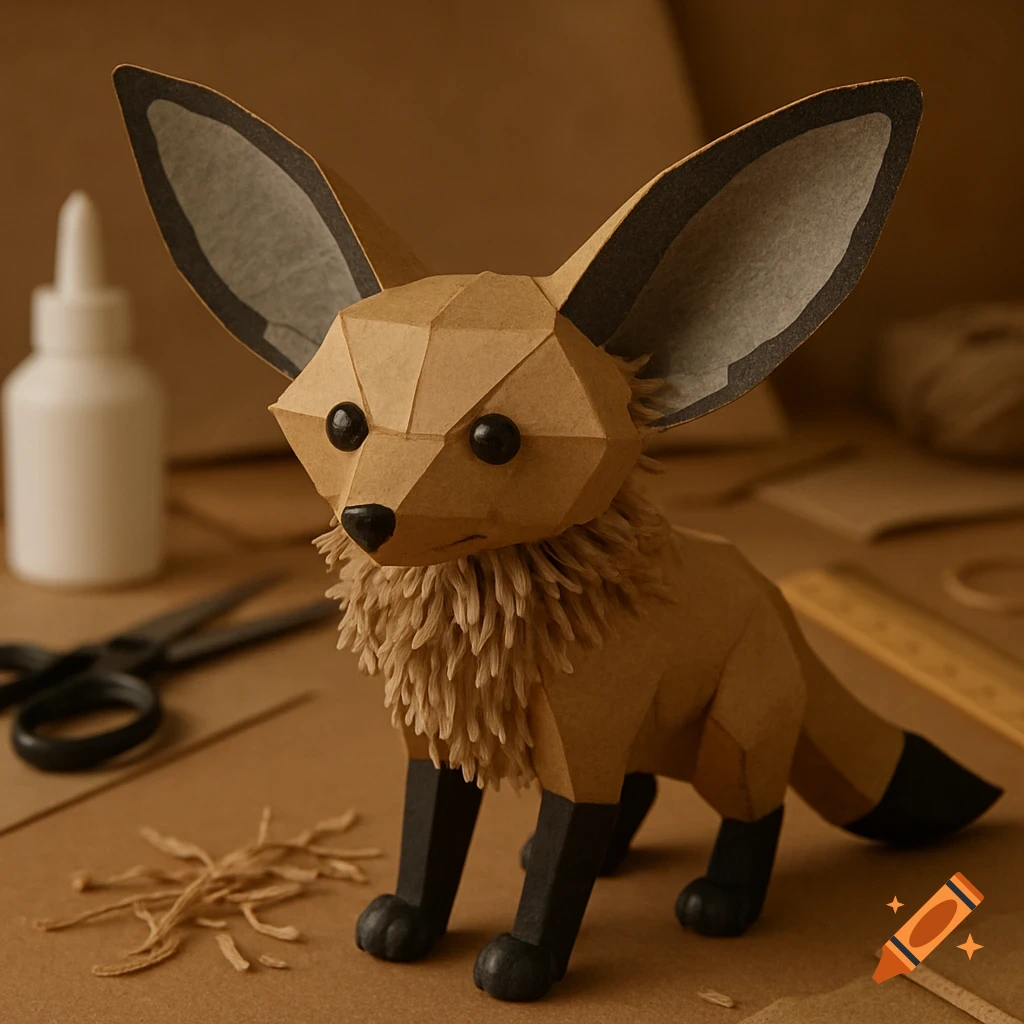
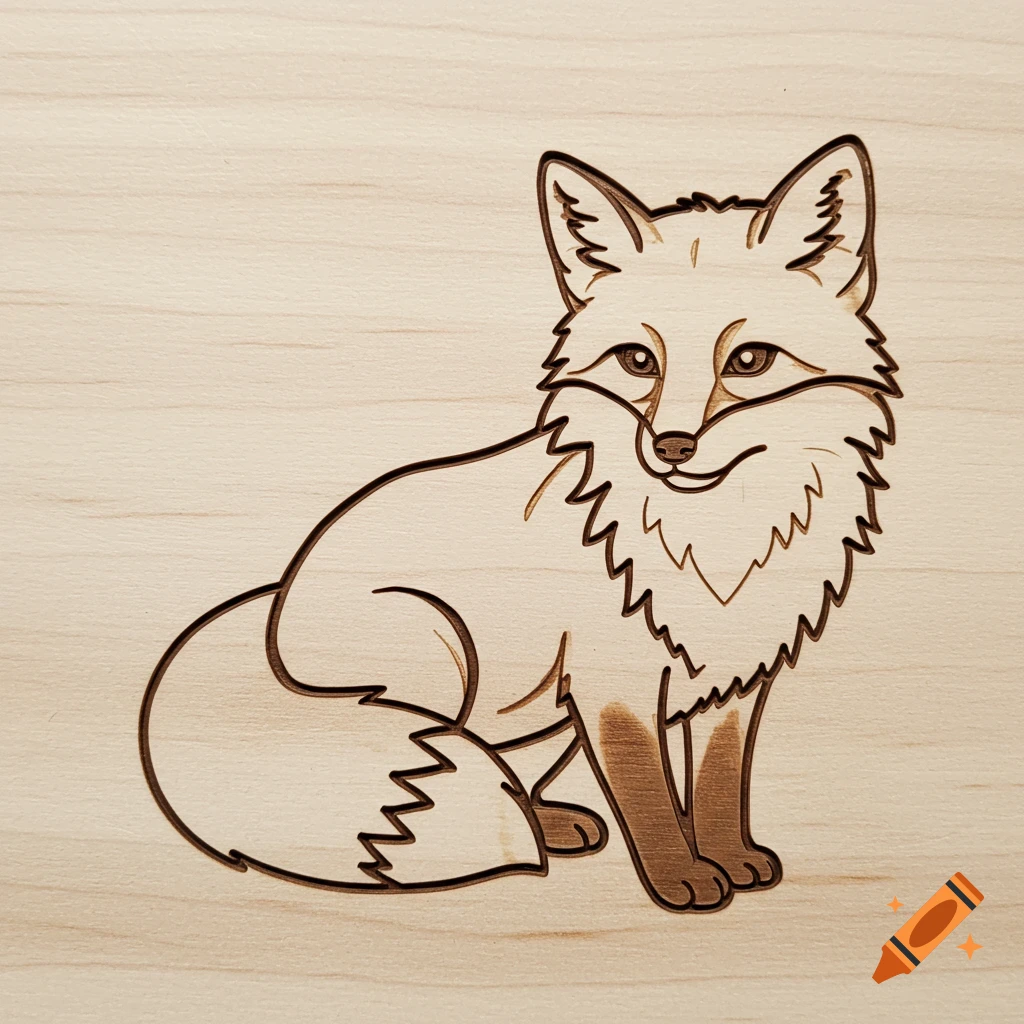
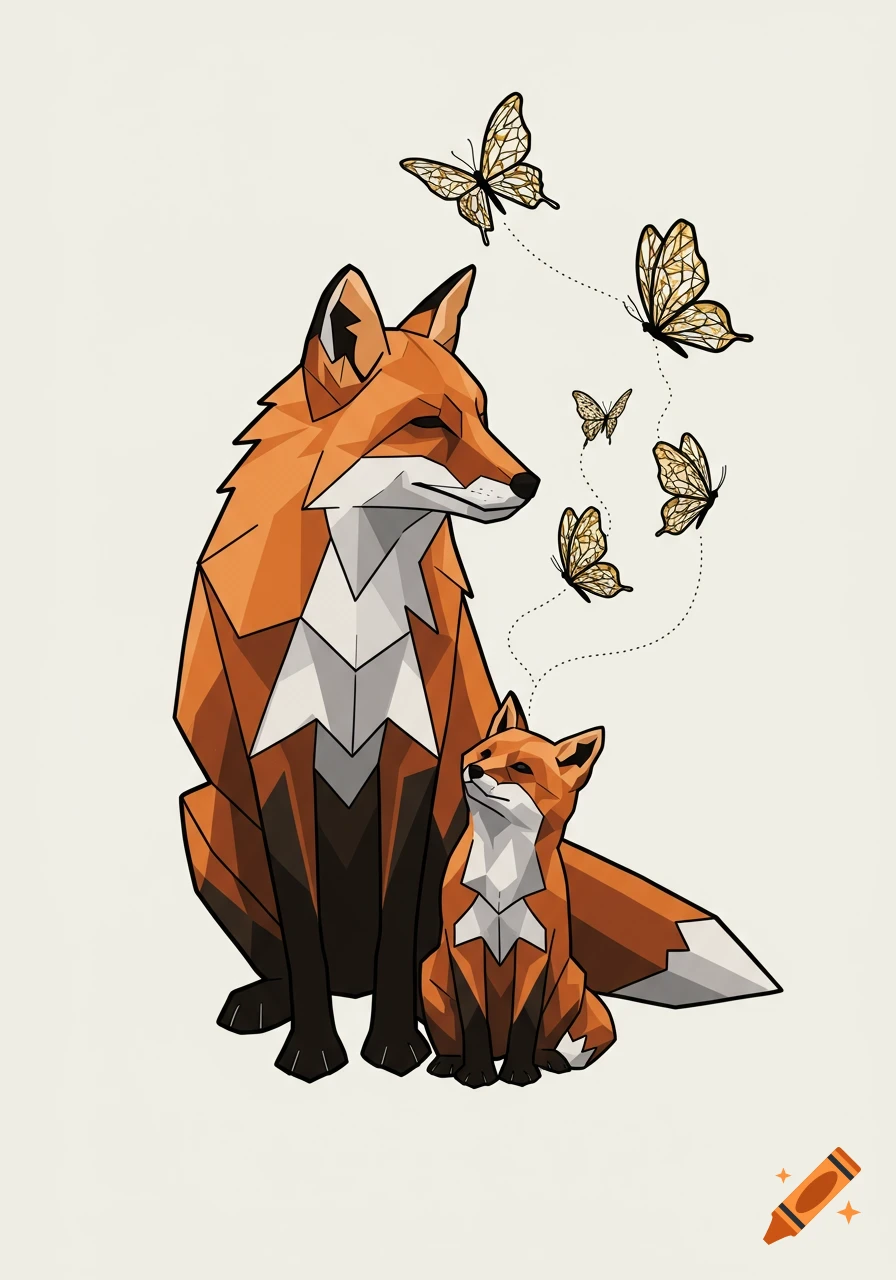
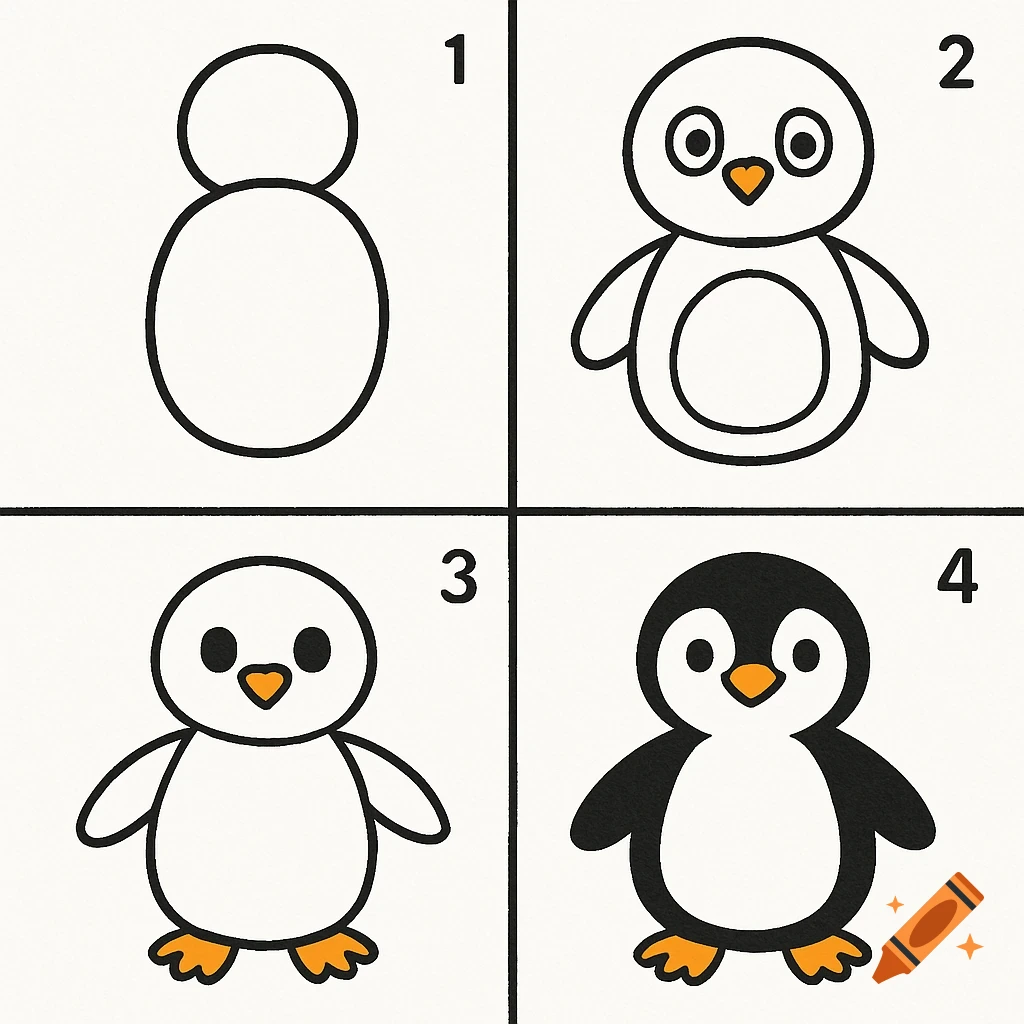
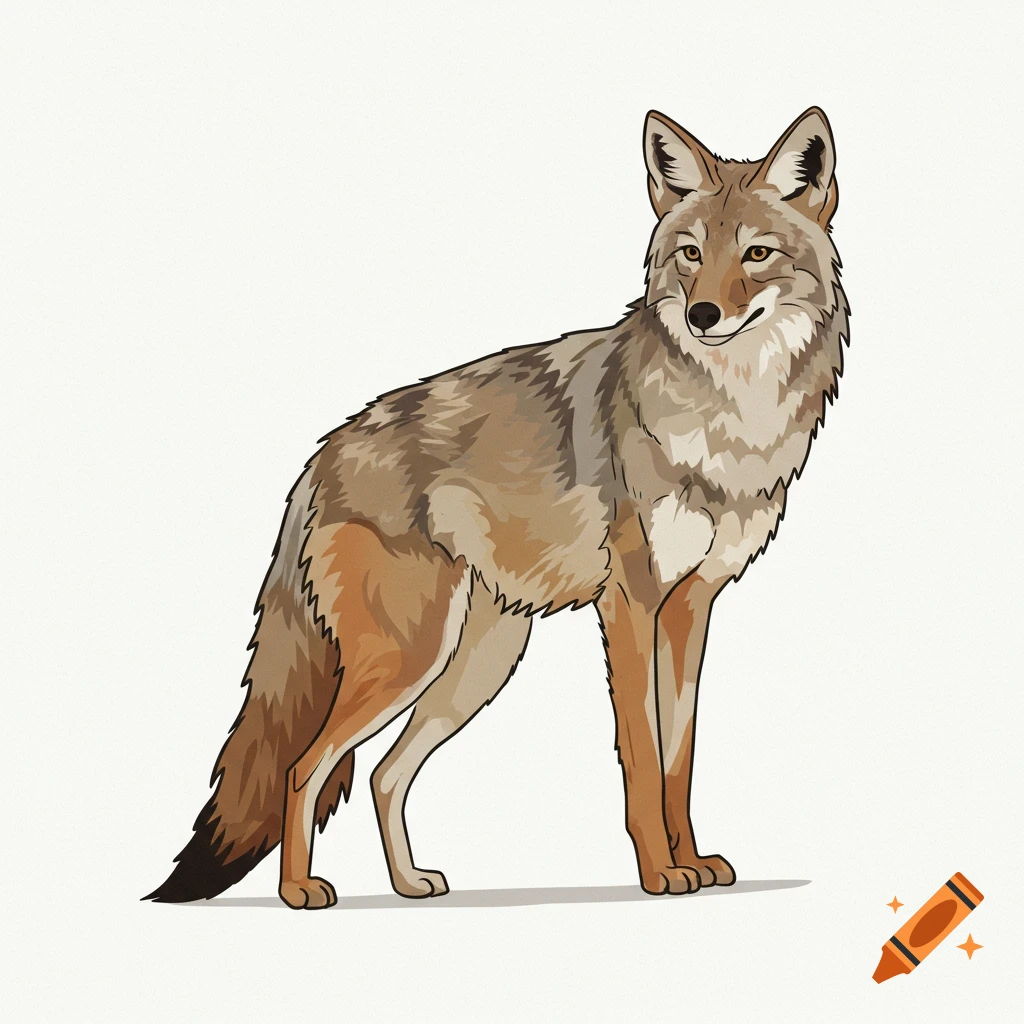
Multi-panel image showing steps to create a papercraft bat-eared fox with brown, black, and gray paper and fluffy chest fur.
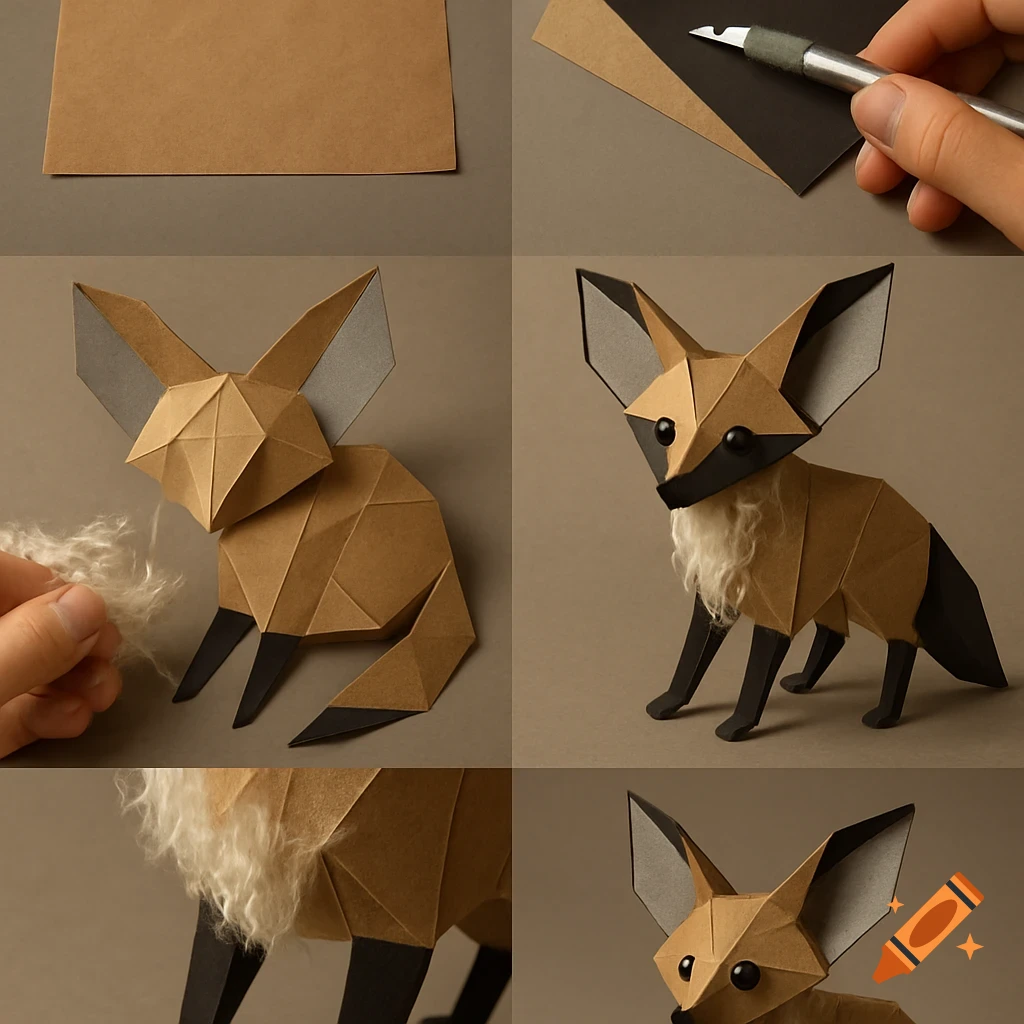
🦊 Realistic Bat-eared Fox Papercraft Guide ✂️ Materials You'll Need Brown kraft paper or cardstock (for body and fur) Black paper (for legs, tail tip, nose) Gray paper (for inner ears) Scissors or craft knife Glue stick or craft glue Tape (optional for reinforcement) Cotton or shredded paper strips (for fur texture) 4 marbles or small pebbles (for weight and paws) 2 black buttons or beads (for eyes) Ruler (for clean folds) 📦 Step-by-Step Instructions 1. Build the Box Body Cut a rectangle for the torso: about 6" long × 3" wide × 4" tall. Fold and glue into a box shape. Cut a smaller cube for the head: 3" × 3" × 3". Attach the head to the front top of the torso. 2. Add the Legs Cut 4 narrow rectangular tubes (about 1" × 1" × 3"). Use black paper for realism. Drop a marble or pebble inside each leg before sealing—this helps it stand! Glue legs to the bottom corners of the torso. 3. Create the Tail Cut a long triangle or tapered box. Use brown paper for the base and black for the tip. Attach to the back lower edge of the torso. 4. Make the Ears Cut two large triangles from brown paper. Glue gray paper inside for the ear lining. Fold and glue to the top of the head, angled outward. 5. Add the Face Glue two black buttons or beads for eyes. Cut a small black triangle and glue it as the nose. Optional: draw or glue a small mouth shape below the nose. 6. Add Fur Texture Cut thin strips of brown kraft paper or use cotton strands. Crinkle or curl them slightly. Glue them around the See more