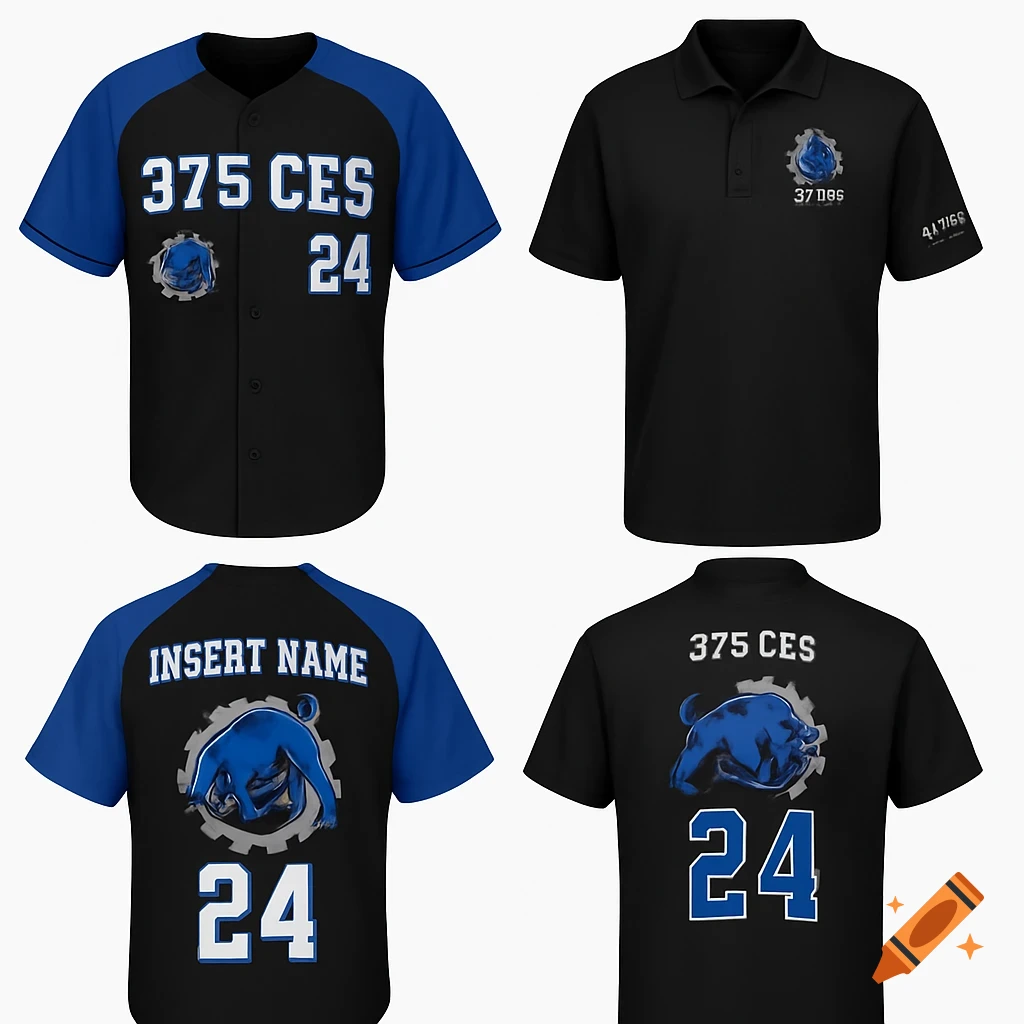
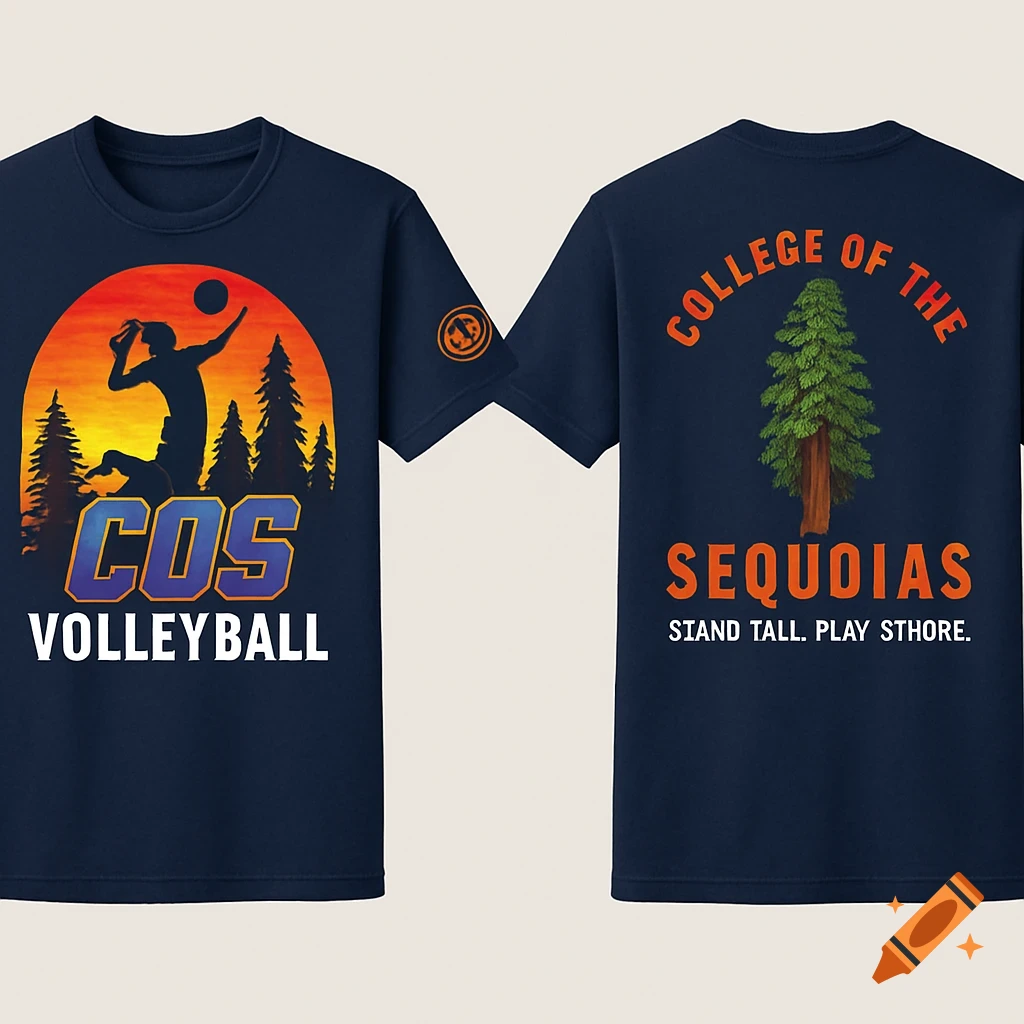
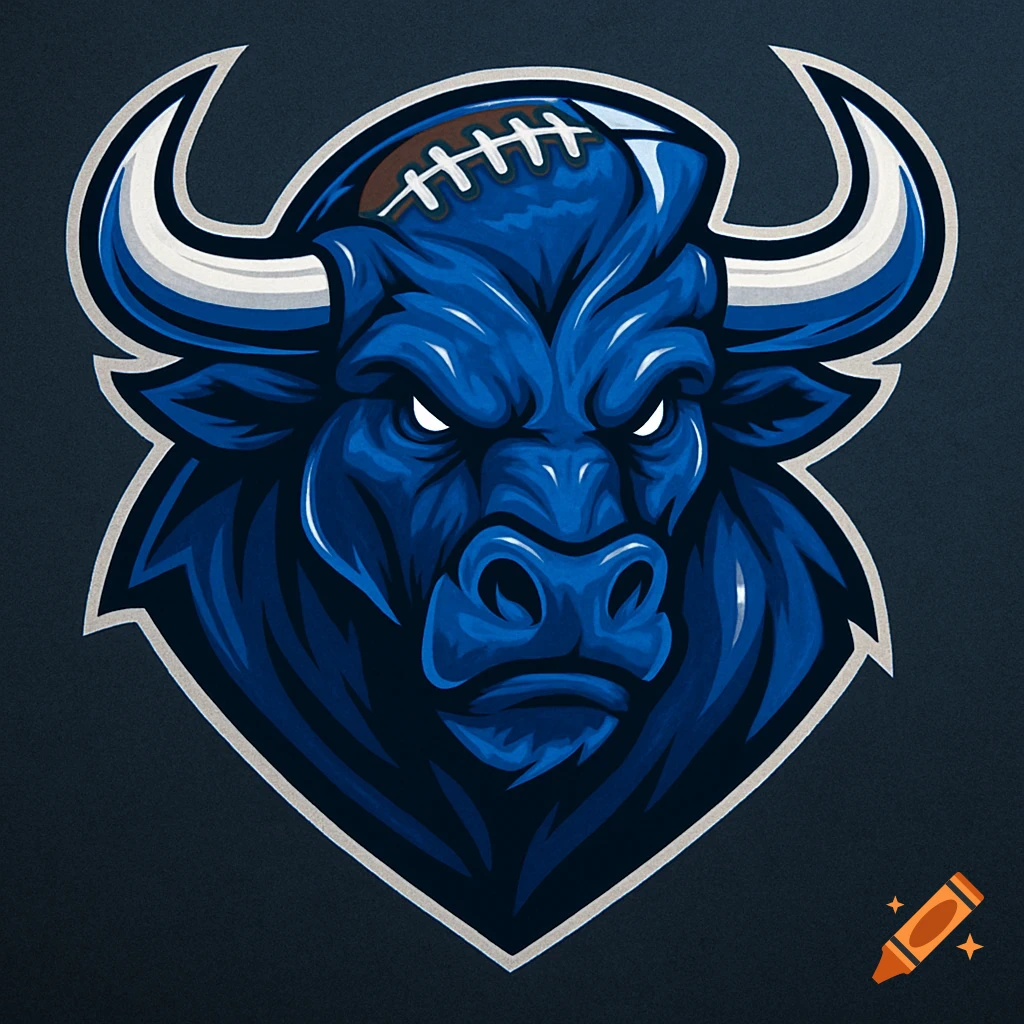
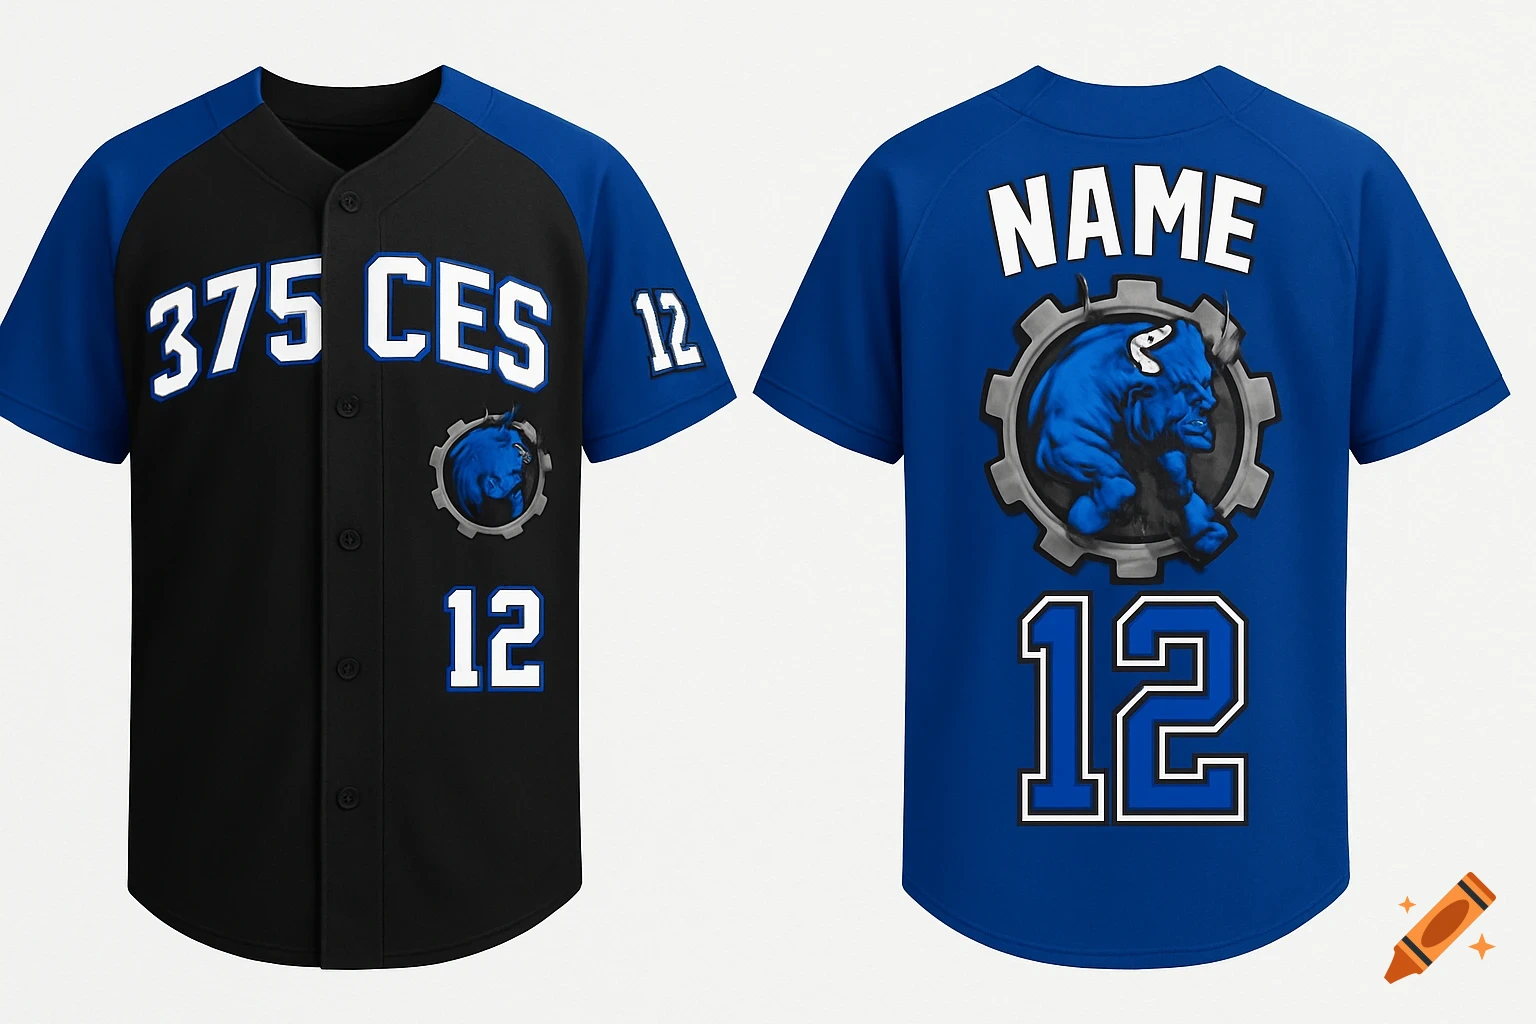
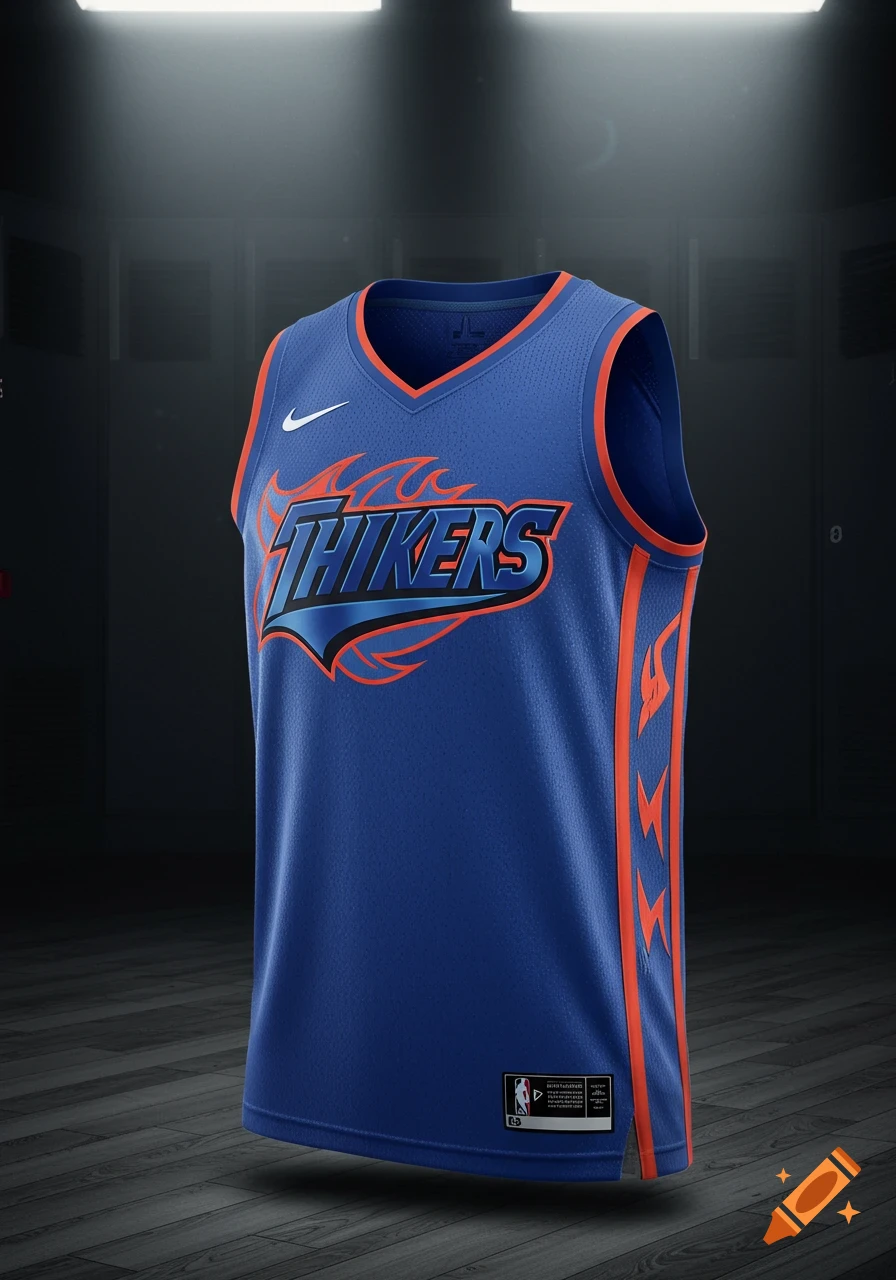
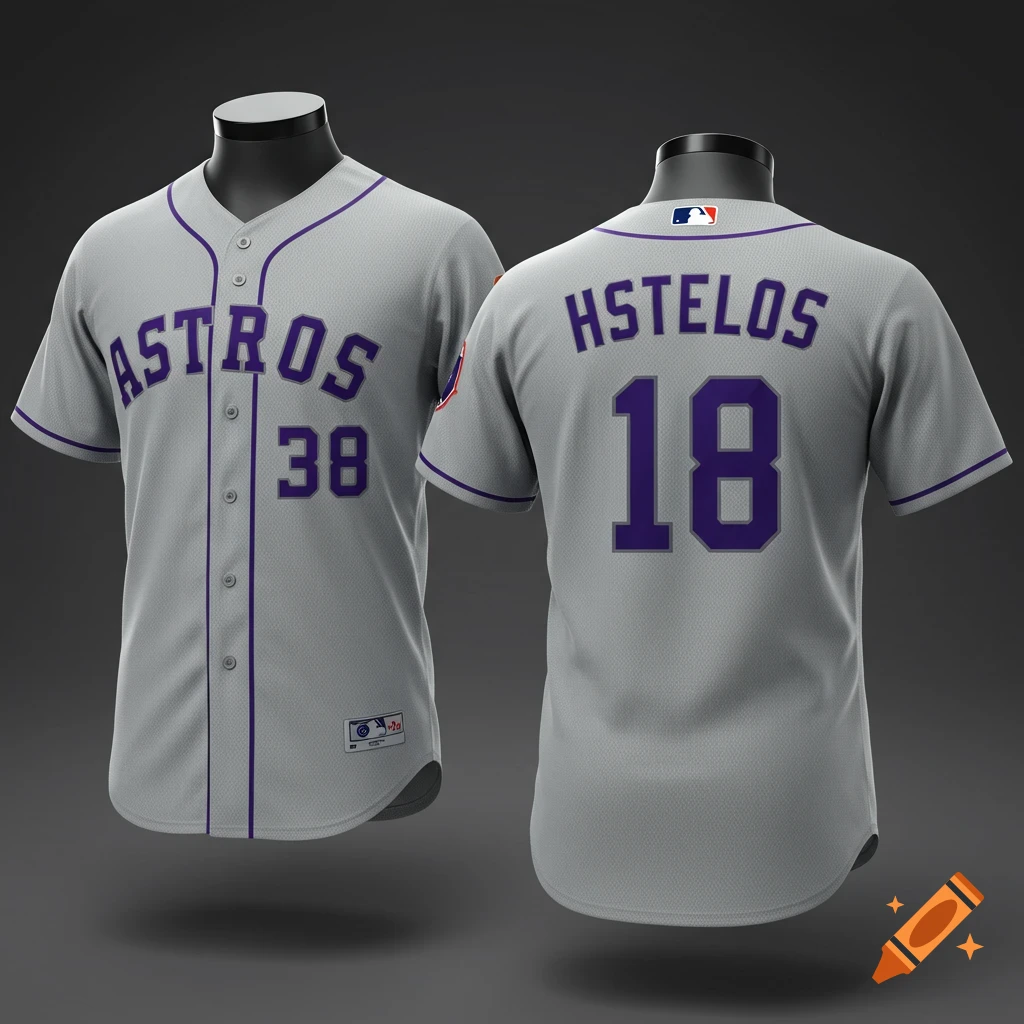
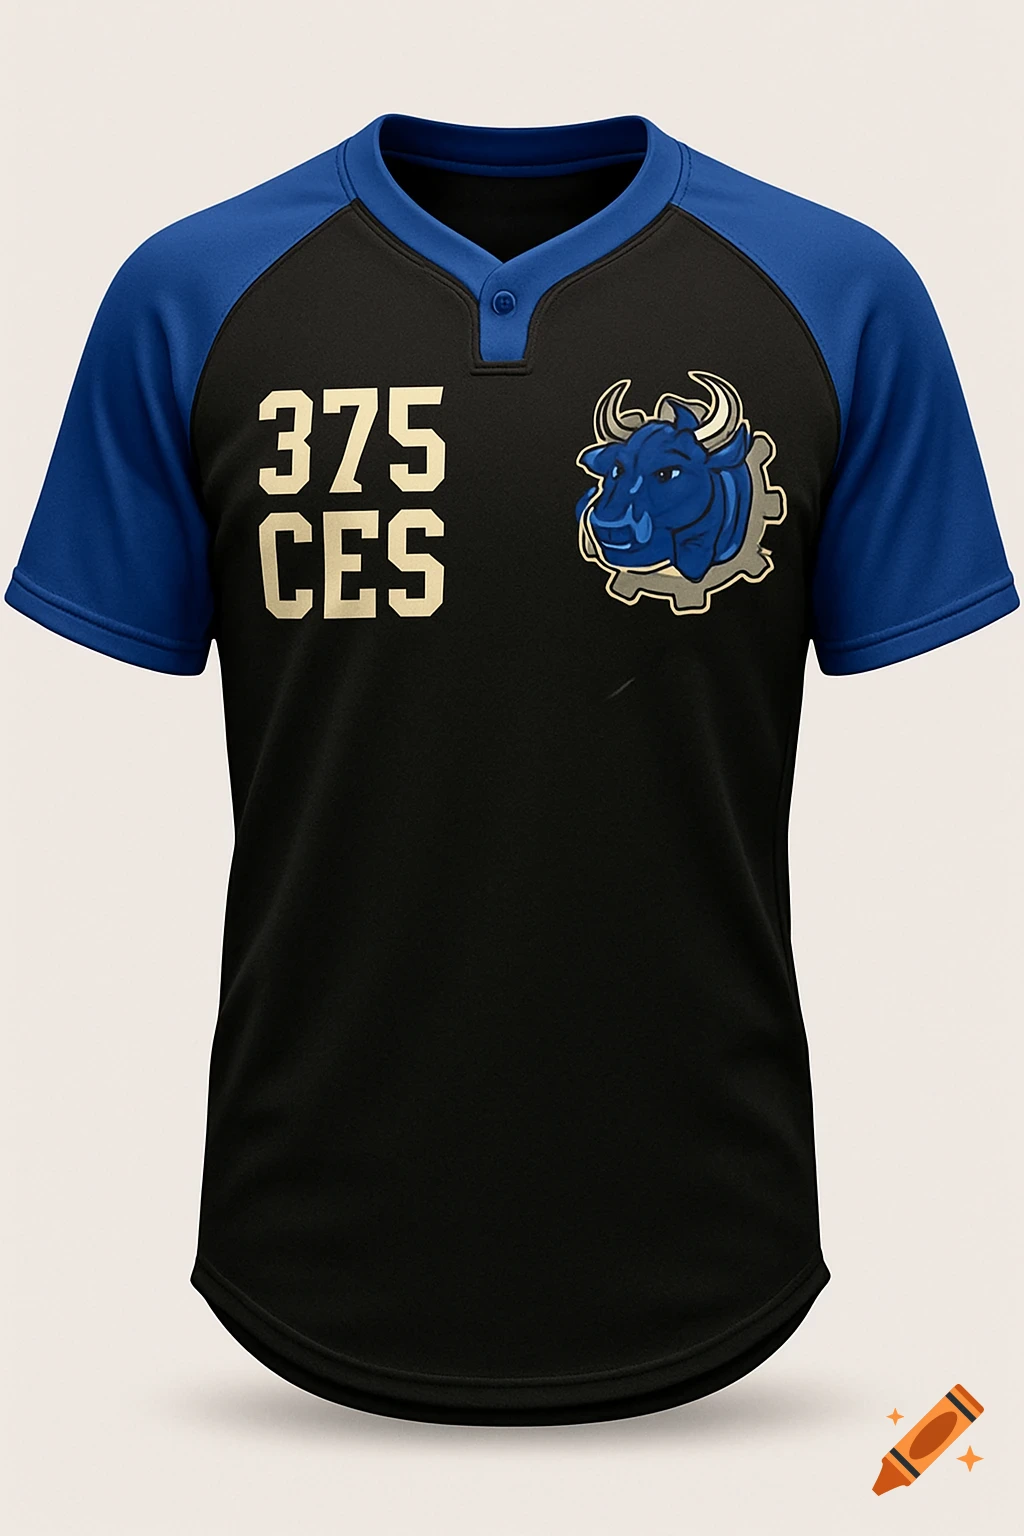
A black and royal blue softball jersey with '375 CES' text and a blue bull head in a gear logo on the chest.
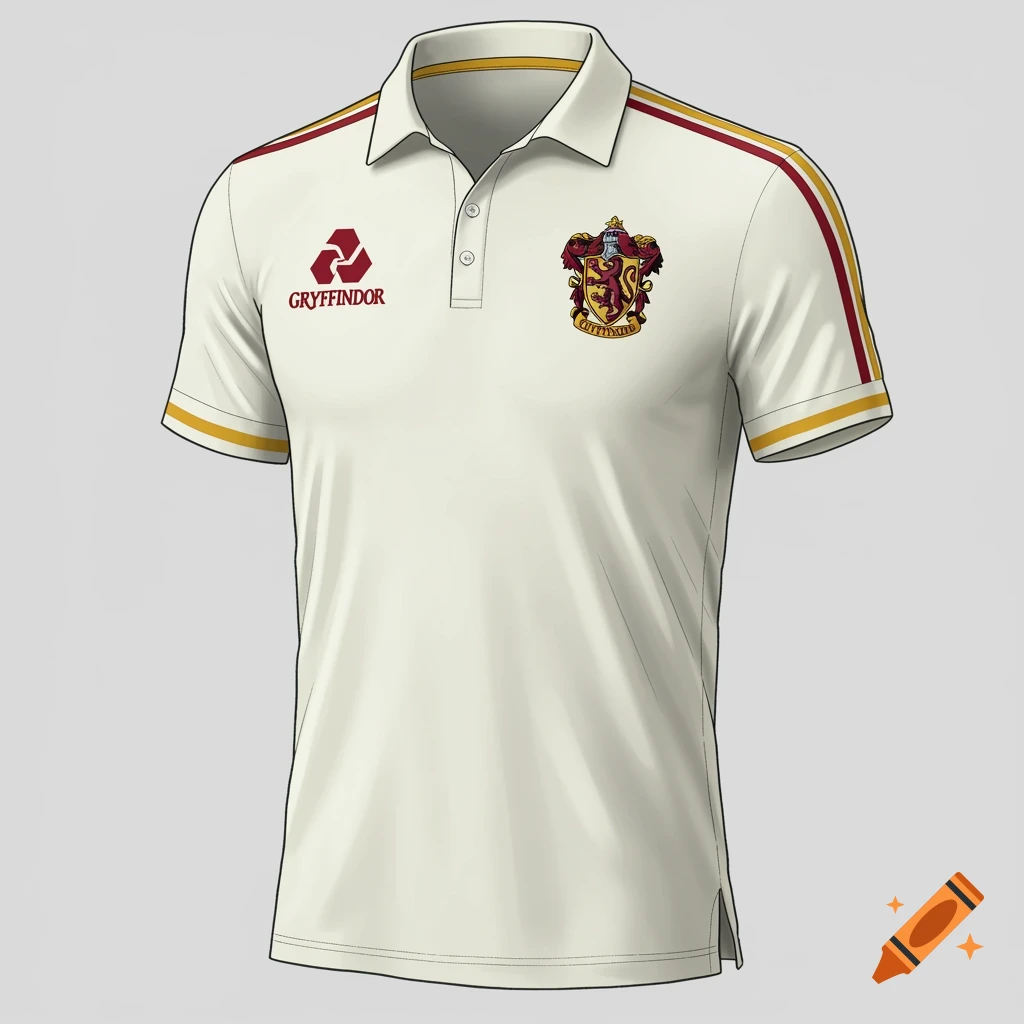
1. **Find a Blank Template:** Search online for a "softball jersey template" or "polo shirt template" PSD file. Many free and paid options are available. Look for ones that allow you to easily change colors and add graphics. 2. **Import Template:** Open the template in your chosen software. 3. **Color the Template:** Use the color picker or fill tools to change the colors of the body, sleeves, collar, etc. according to the descriptions (e.g., Black body, Royal Blue sleeves). Refer to the HEX codes for specific colors for consistency. 4. **Create the Logo:** This is the most complex part. You have a few options: * **If you have a digital version of the bull + gear logo:** Import it into the design and scale it to the appropriate size. You may need to clean it up (remove background, adjust colors) using the software's tools. * **If you don't have a digital version:** You can either: * **Recreate it:** Use the software's shape tools (circles, rectangles, pen tool) to manually create the logo. This takes skill and time. * **Trace a photo:** Take a clear photo of the logo and use the software's tracing tools (e.g., "Image Trace" in Illustrator) to convert it into a vector graphic. 5. **Place the Logo:** Position the logo on the left chest of the jersey/polo, scaling it according to the descriptions ("Small...logo patch style"). 6. **Add Text:** Use the text tool to add the "375 CES" above the logo. Choose a Varsity Block font (or something similar if you don't have that exact See more