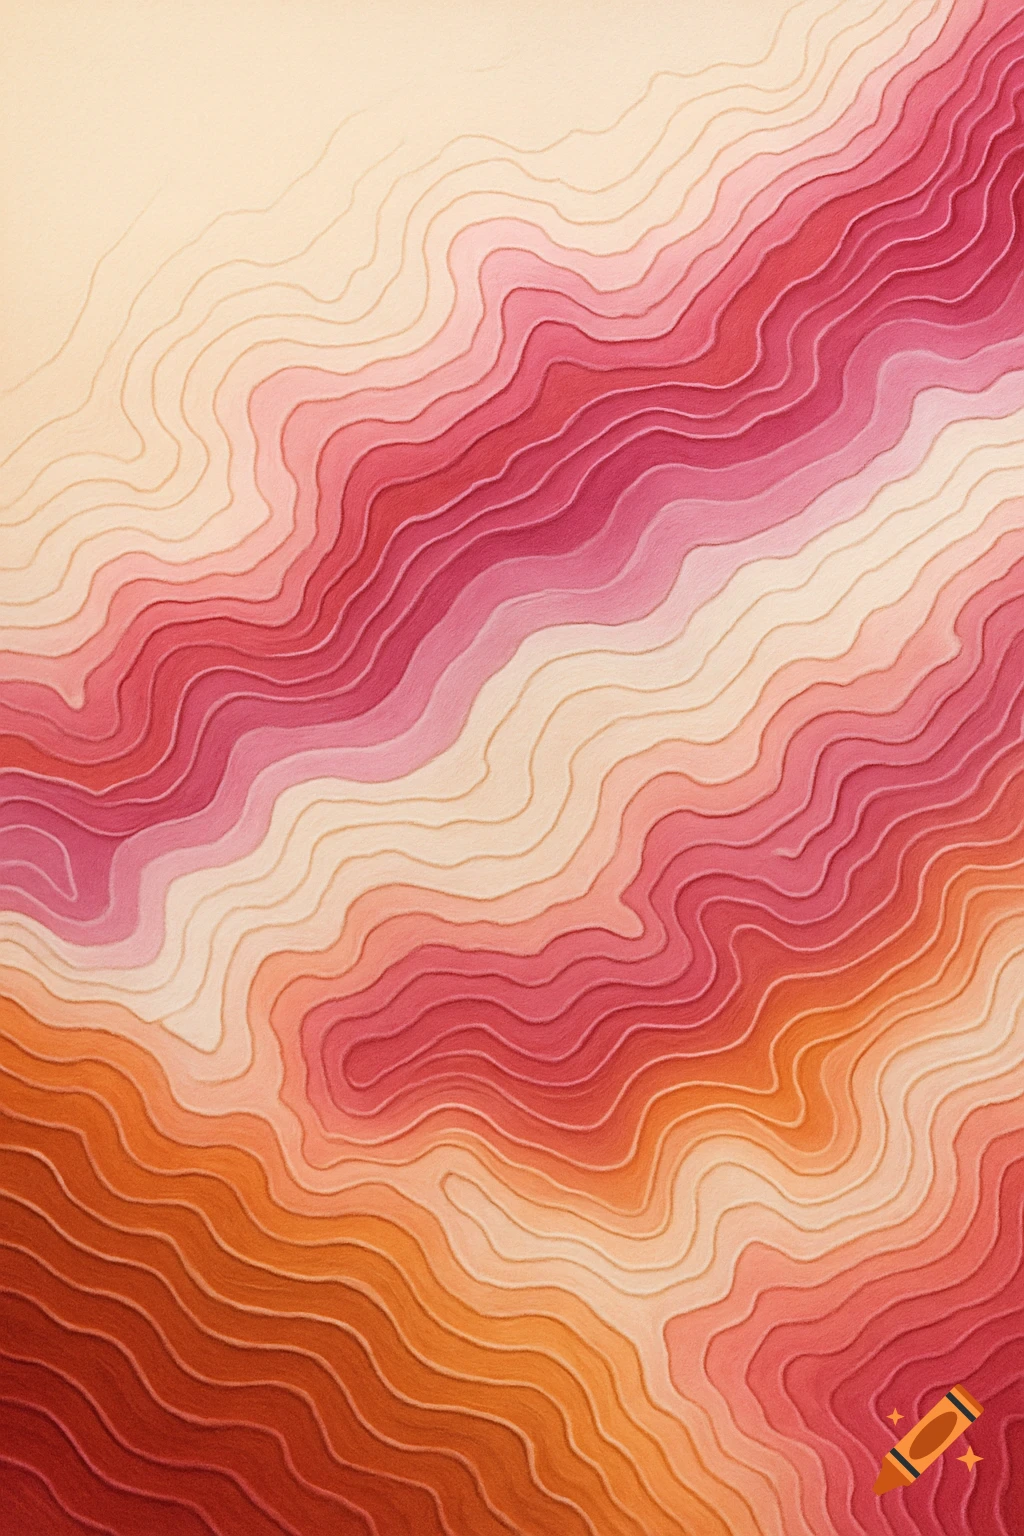
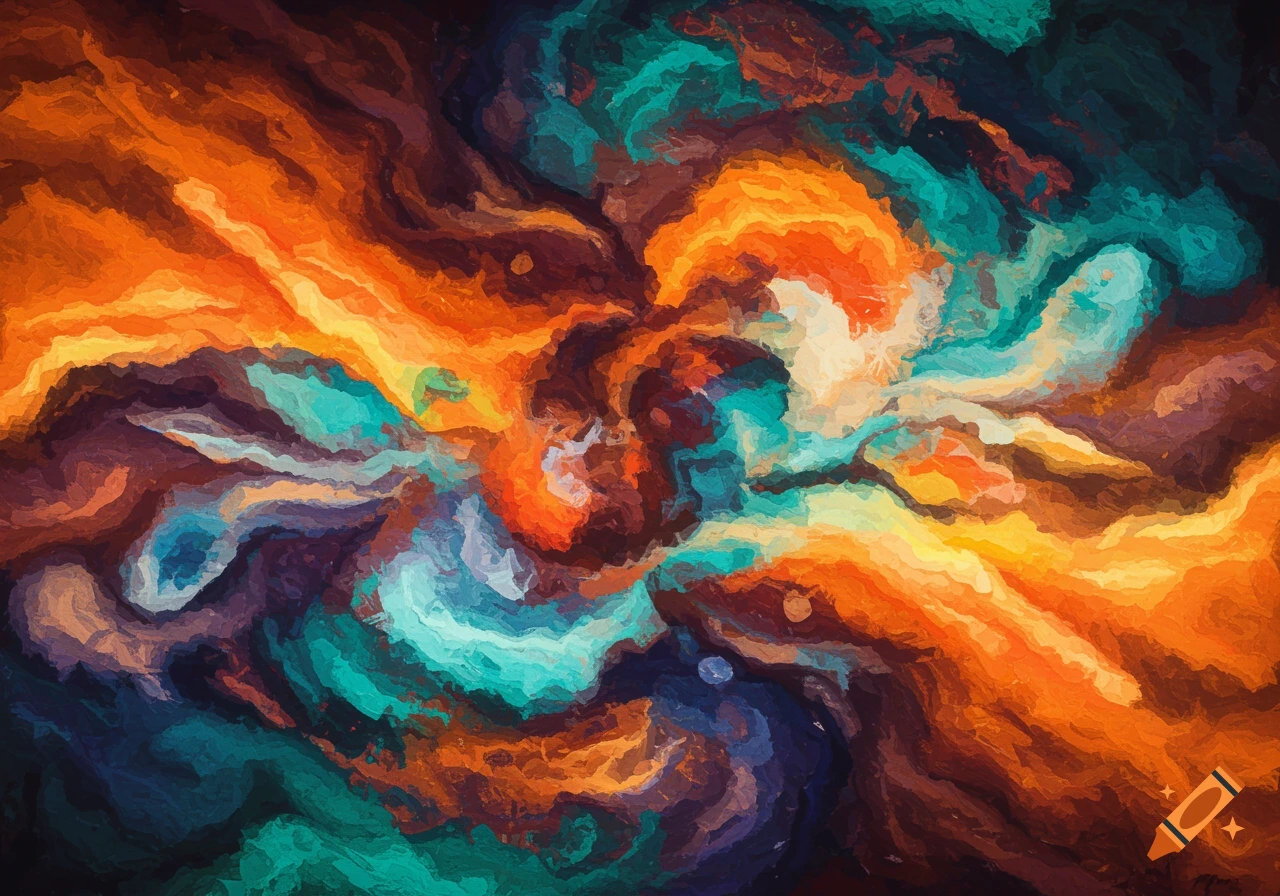
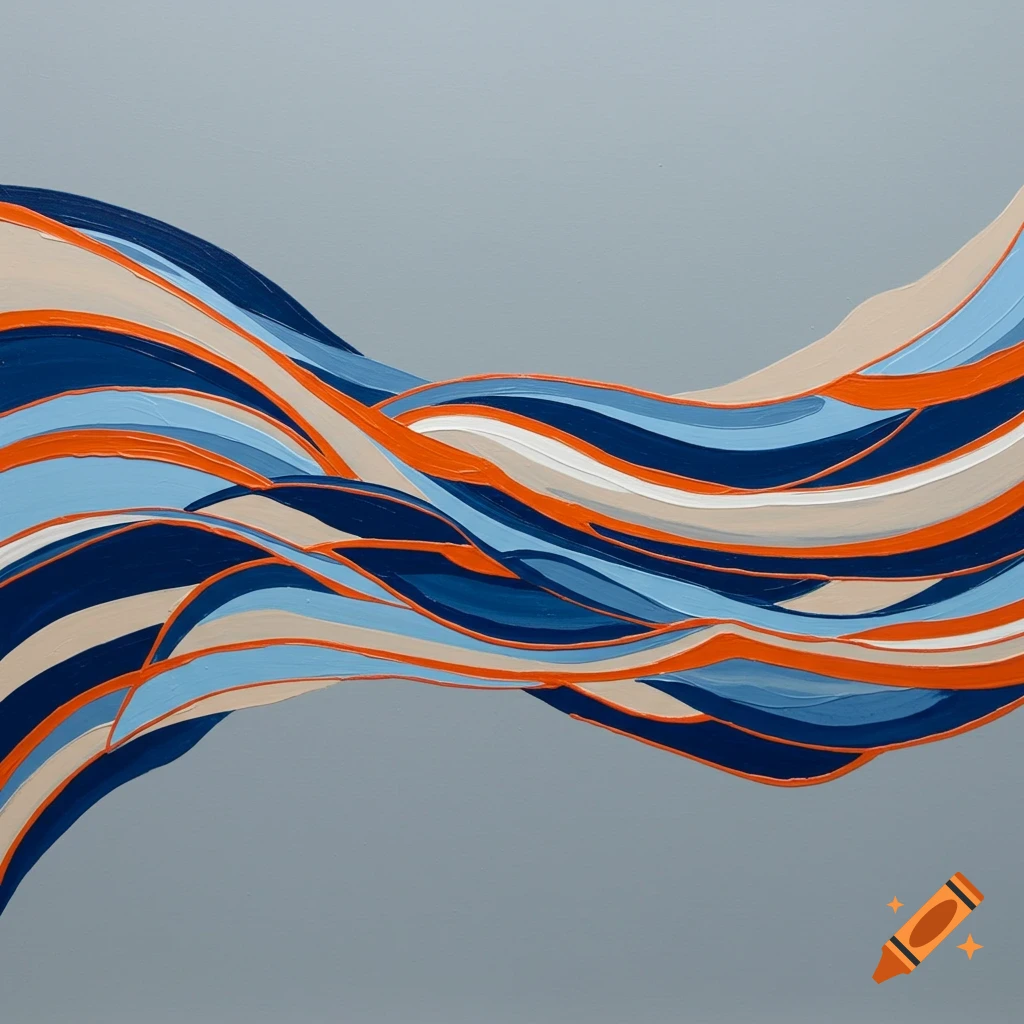
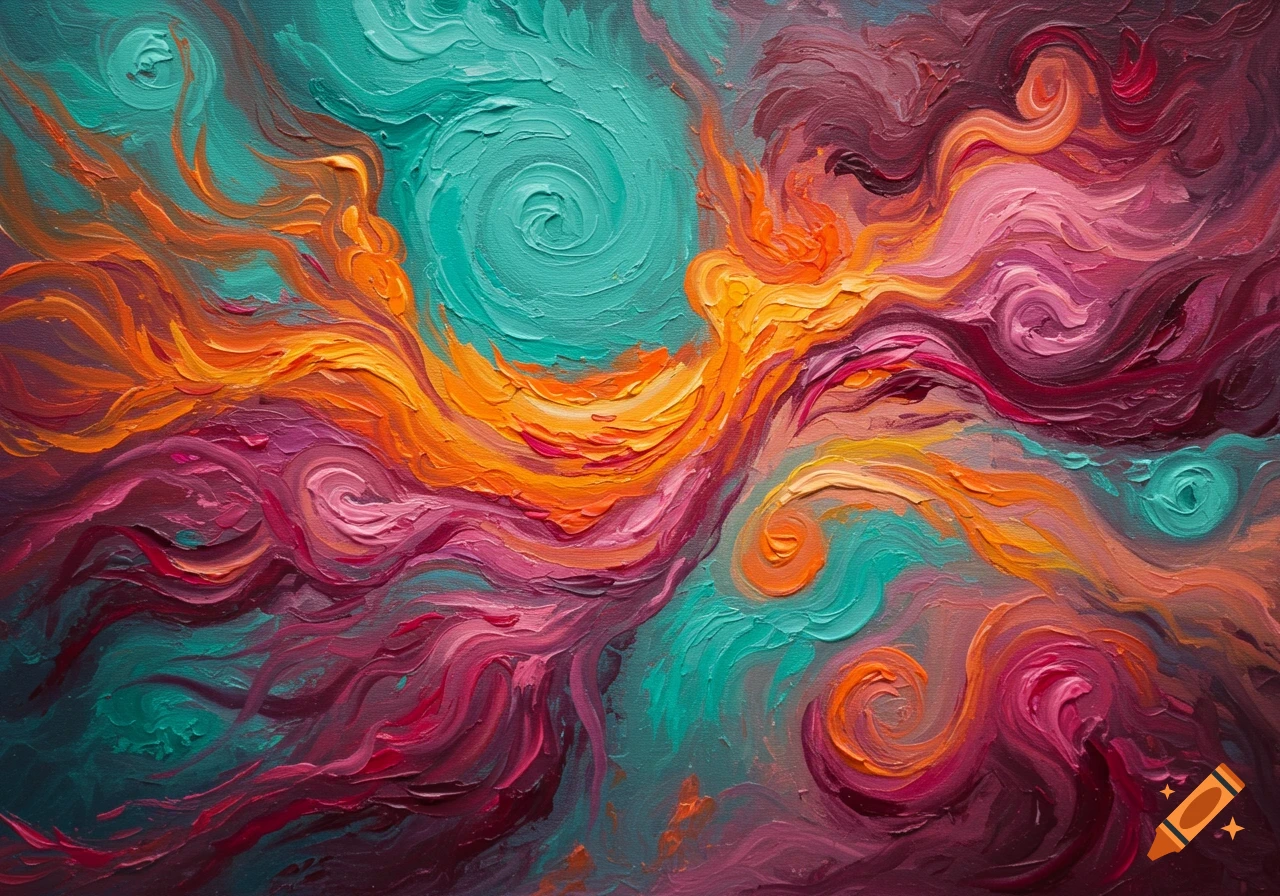
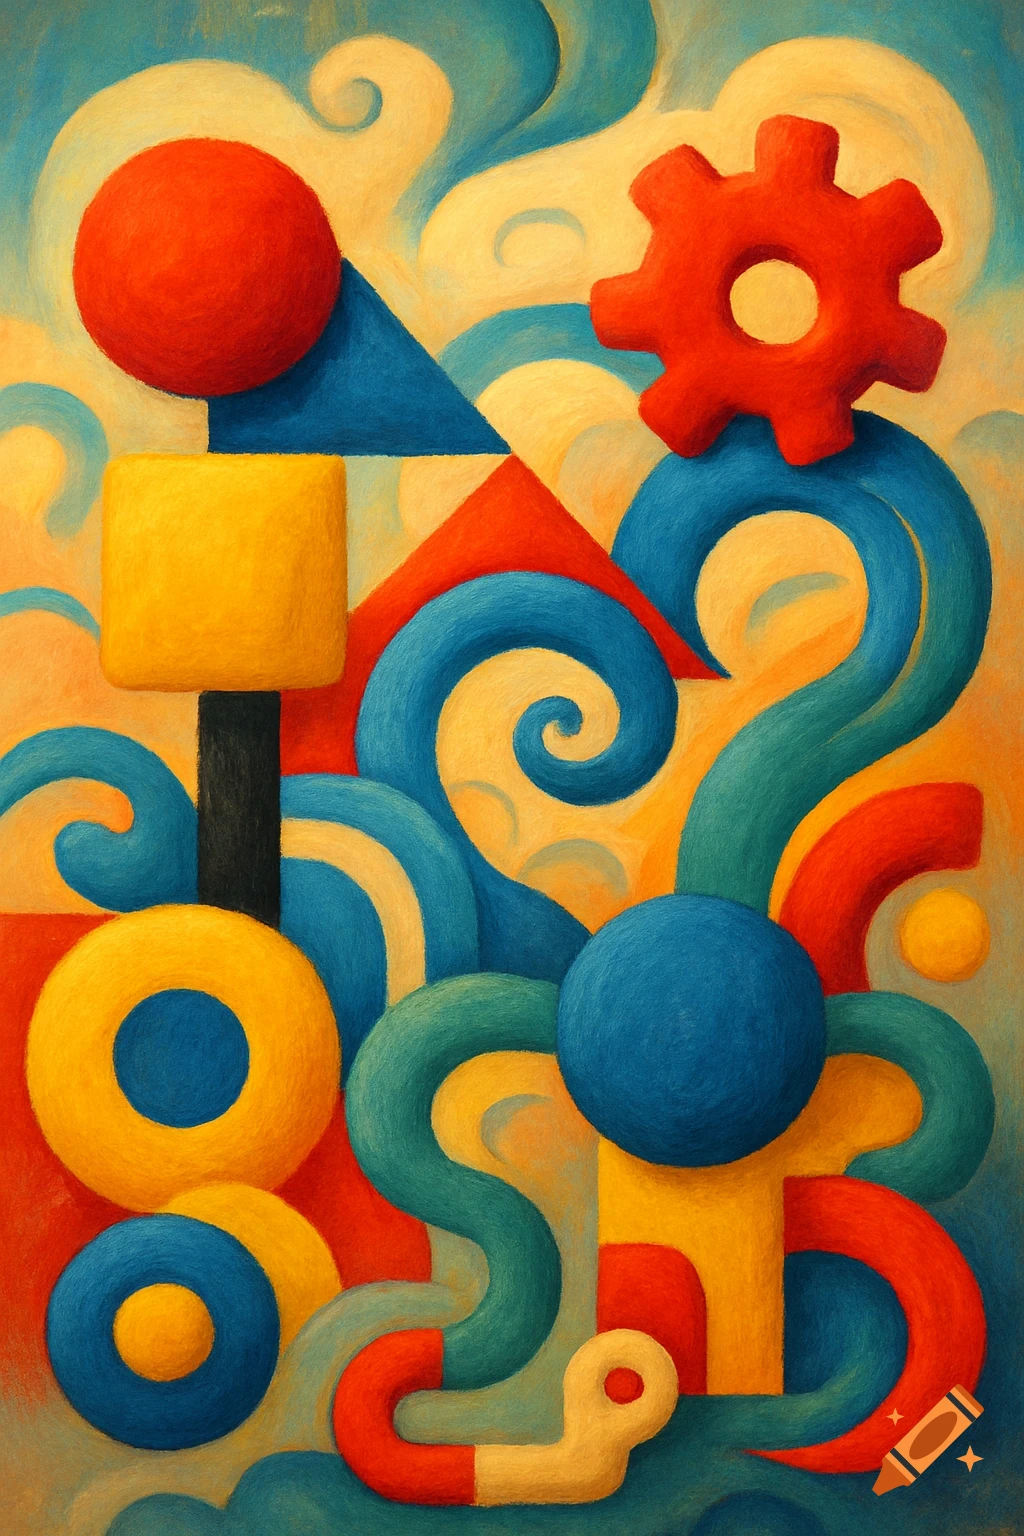
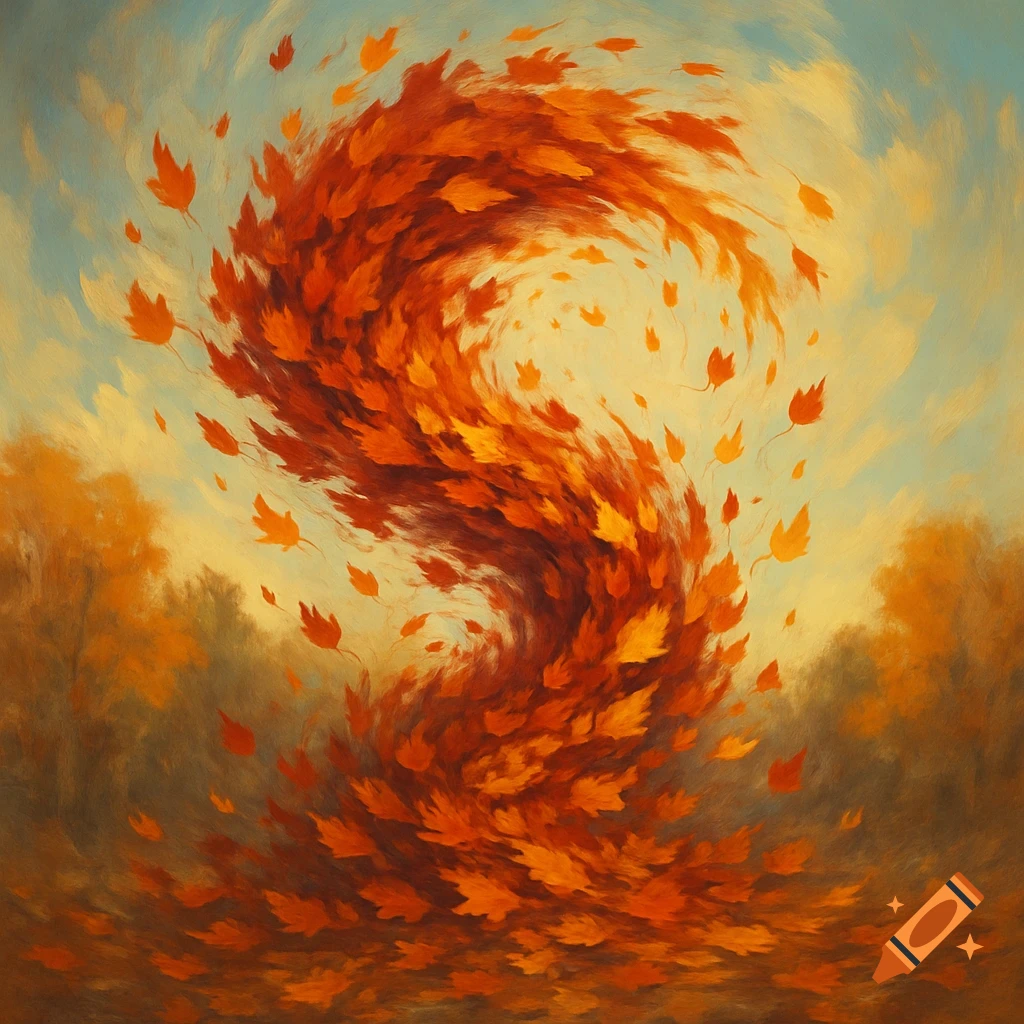
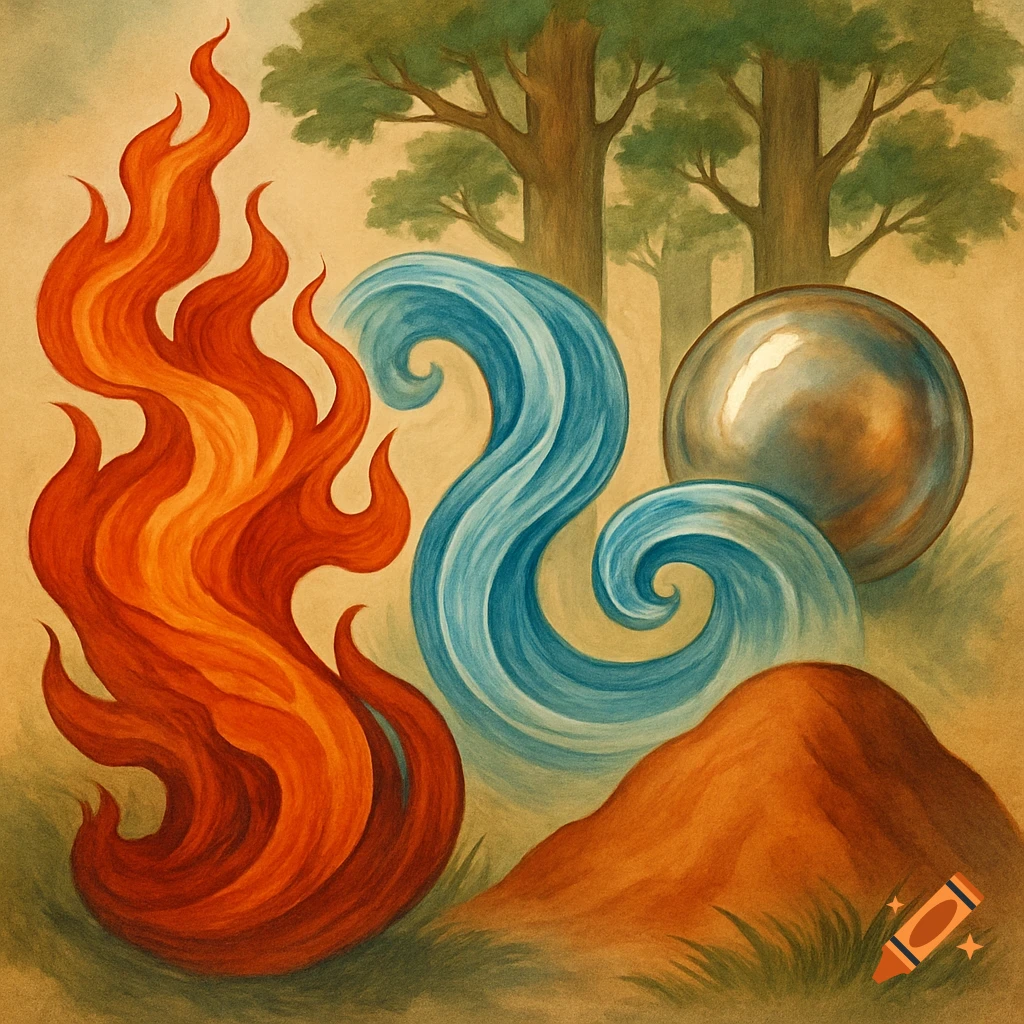
A vibrant abstract painting featuring an orange and red wavy ribbon path against a teal background with confetti and vines, culminating in a bright yellow burst.
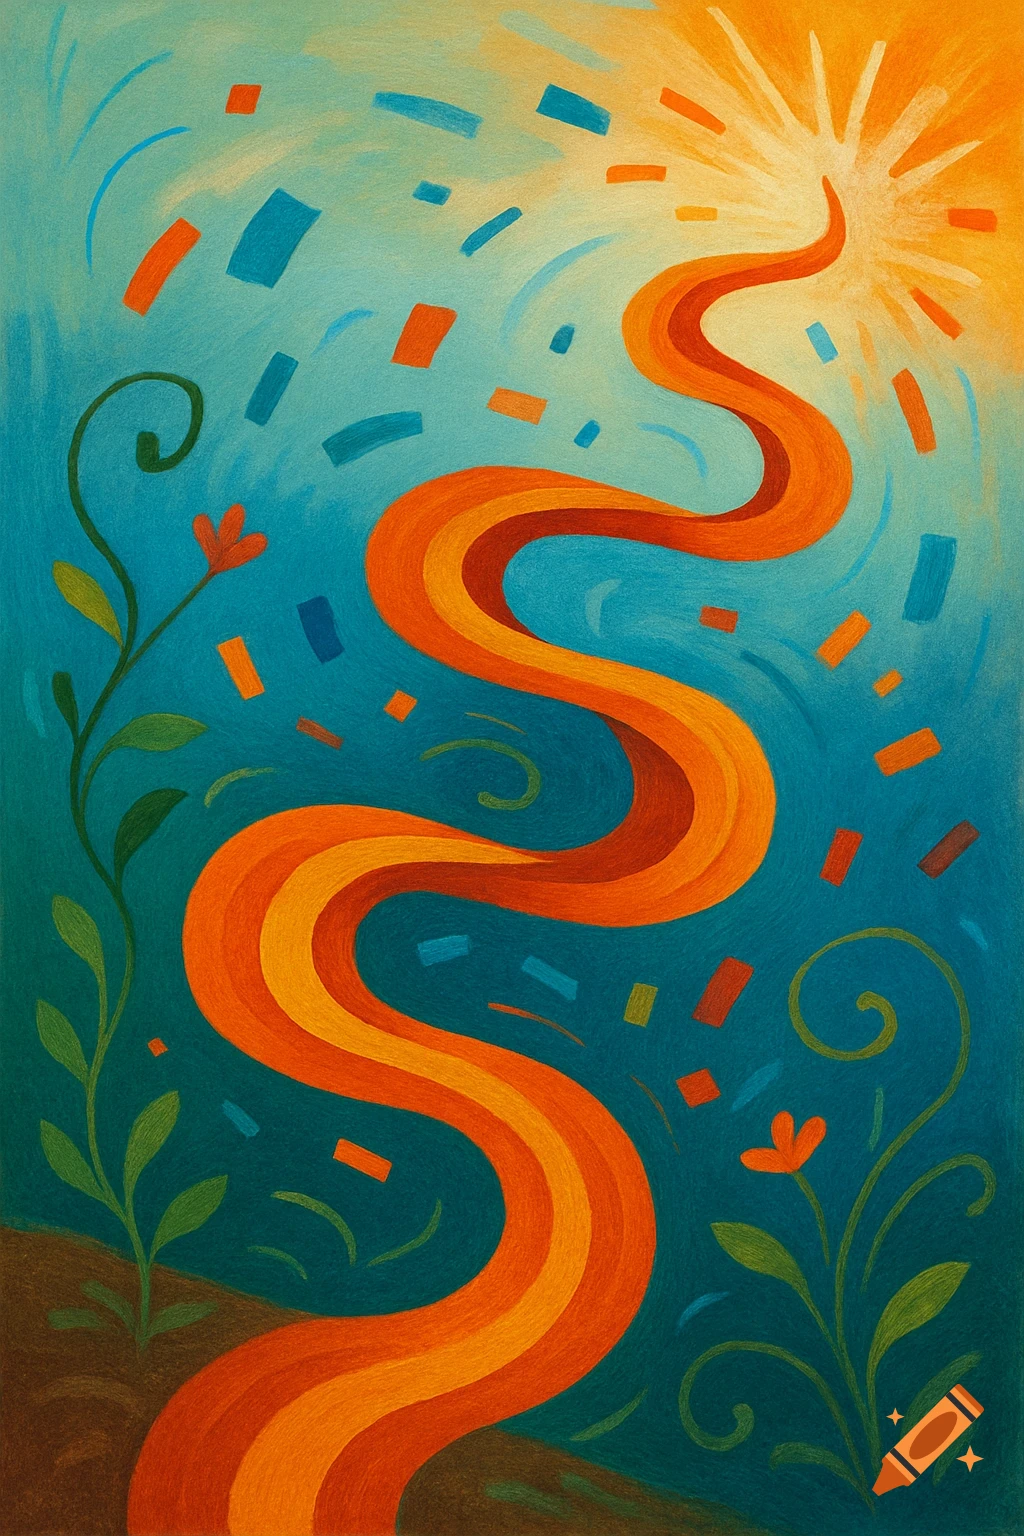
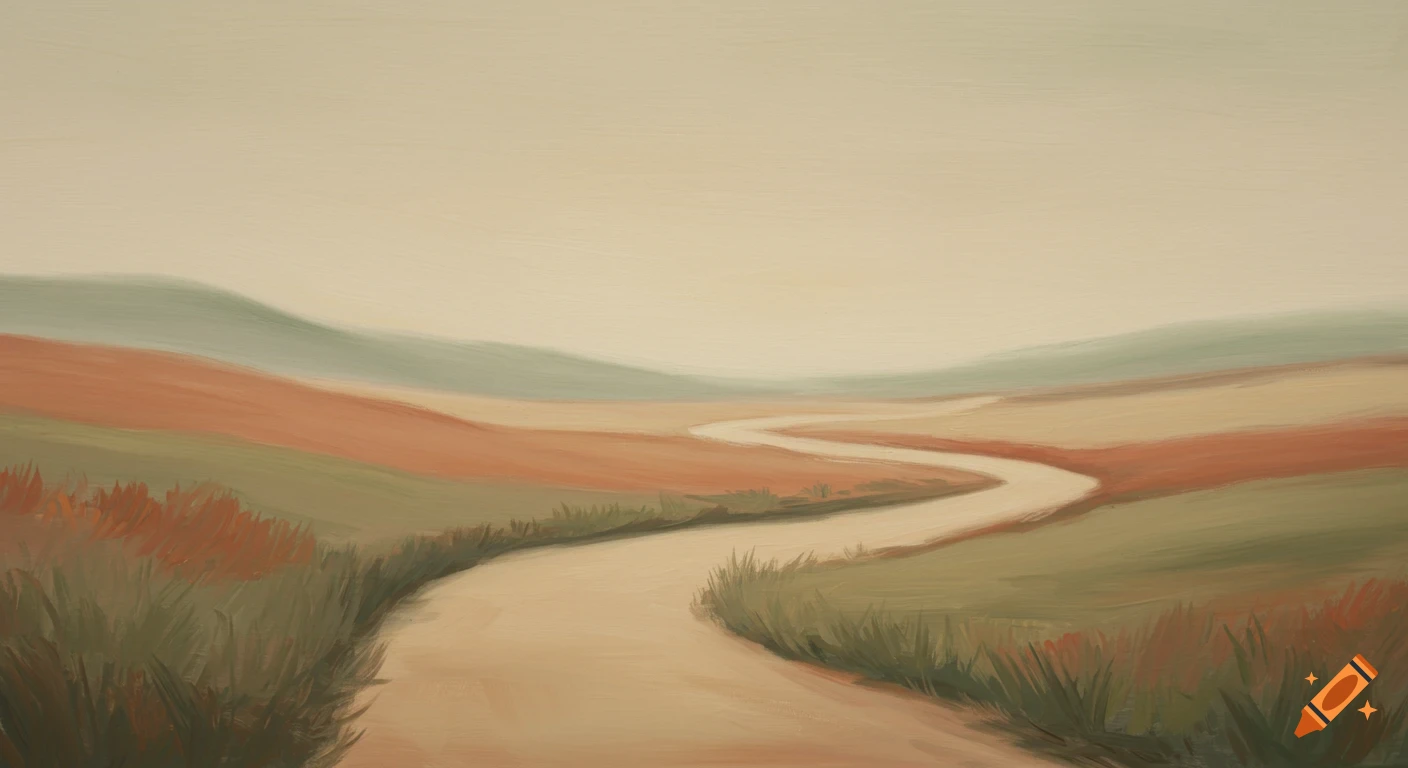
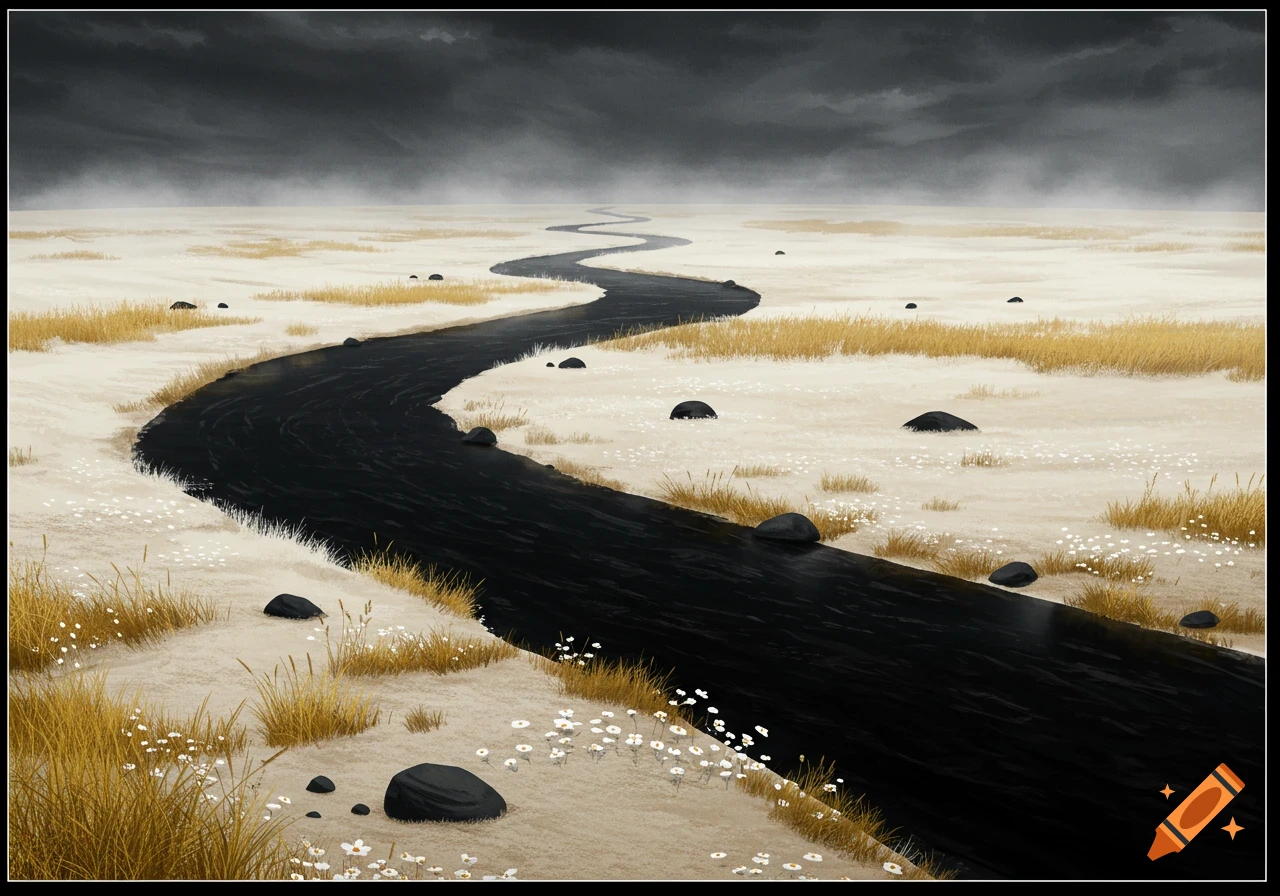
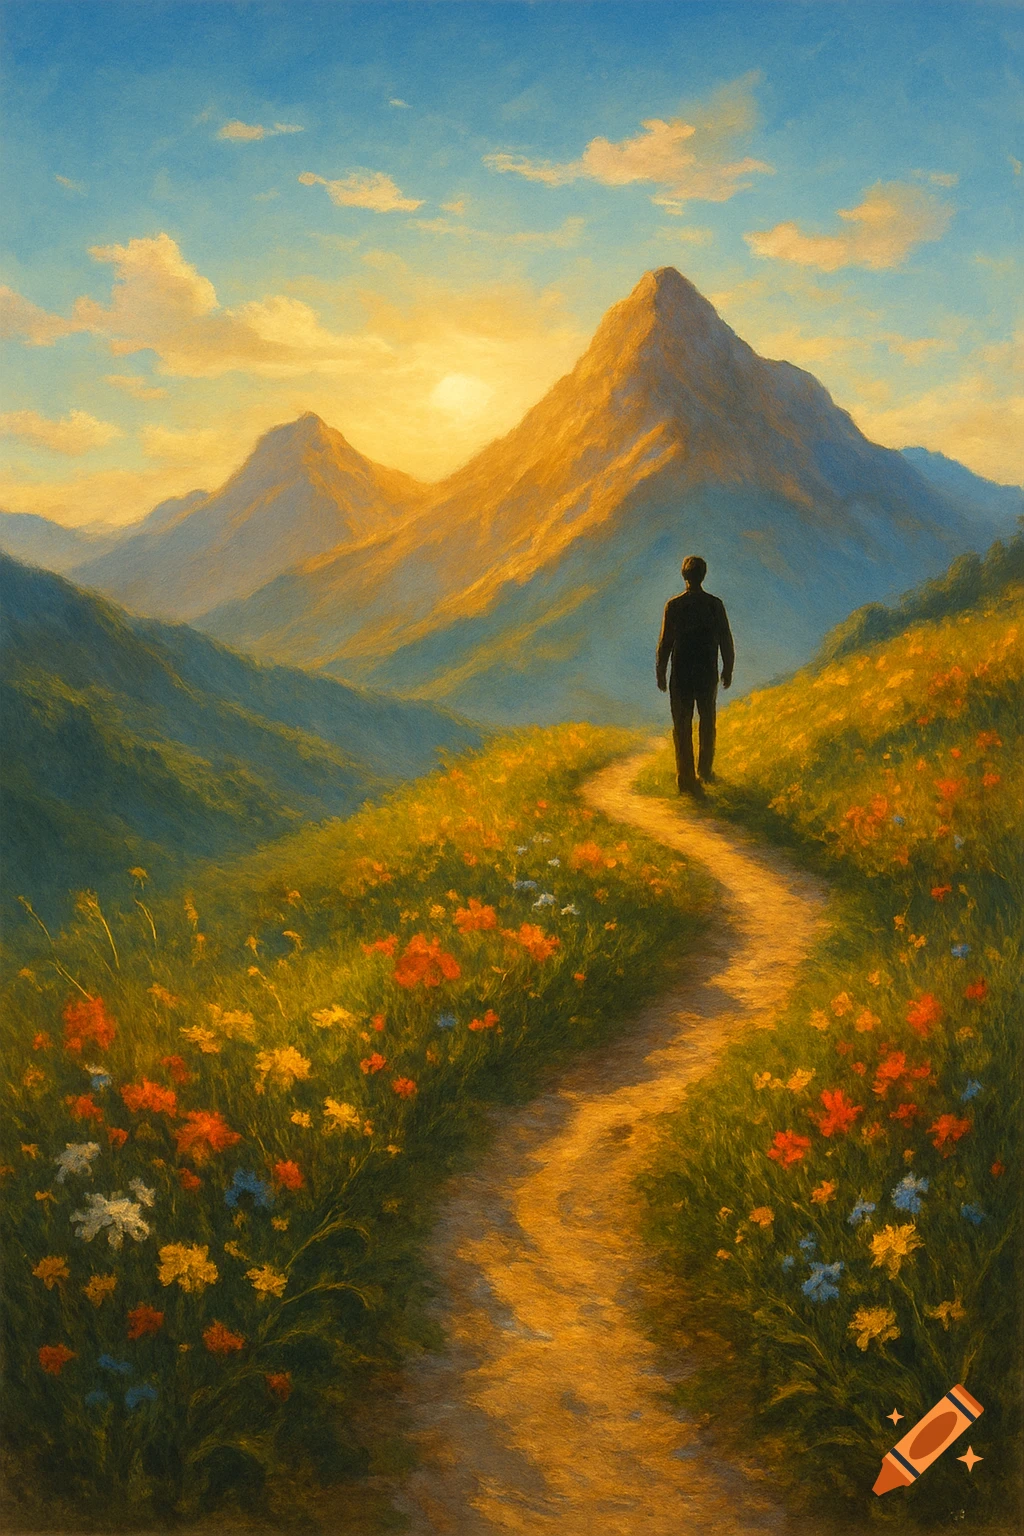
Step-by-Step for Abstract Road Step 1: Decide the Flow Start at the bottom-left of your paper (Soil Zone). End at the top-right (Burst Zone). Think of the road as a journey line, not a street. Idea: wavy, twisting, looping—like a ribbon or river. Step 2: Draw the Base Curve Lightly sketch a single wavy line diagonally across the page. Make it organic: Gentle curves, loops, spirals, twists. Narrow sections and wider sections for variety. Optional: let it split into two thin lines and then merge back together—like forks in a path. Step 3: Turn the Line into a “Ribbon” Draw parallel curves along the wavy line to create a ribbon or band. Vary the width naturally: Narrow in “struggle” areas (bottom-left). Wider in “growth” areas (top-right). Optional: slightly taper the ends so the road feels like it’s moving forward. Step 4: Add Abstract Segments (Optional) Instead of a solid ribbon, break it into abstract shapes: Tiny dashes, arcs, loops, irregular rectangles, or triangles. Space them loosely so it feels flowing and organic. These segments suggest stepping stones or milestones along the journey. Step 5: Add Texture & Movement Lightly sketch tiny loops, swirls, or dots along or around the road. Optional shading along one edge adds depth. Let parts of the road interact with other elements: sprouts, abstract flowers, or vines. Step 6: Keep the Energy Most curves should point toward the Burst Zone. Let loops, twists, and thickness changes show movement and growth. Avoid straight See more